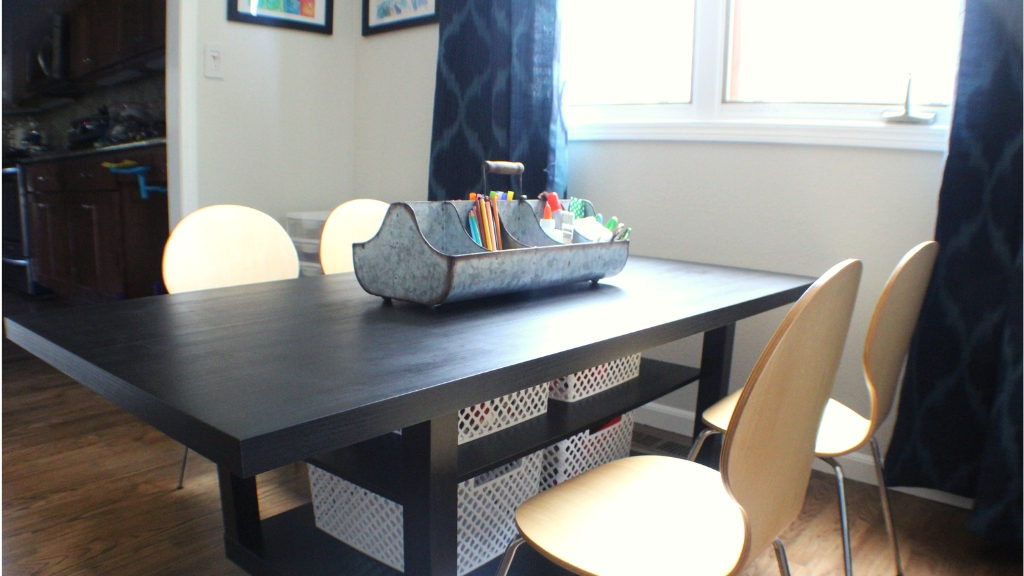
Once again, I’ve turned to a couple of IKEA classics to hack together an inexpensive child-sized craft table for our kid’s Lego and craft room. I wanted something that would be at the appropriate height for my 5-year-old, have a considerable amount of workspace and provide some additional storage. And, most of all, be inexpensive. I had a hard time finding anything that met all of these criteria, so IKEA hack it was!
If you are unsure what the proper table and chair height is for your kiddo, I found this great resource that provides details based on approximate height and age. The overall dimensions of my kid’s art table with the feet I used are: 59″ L x 29 1/2″ W x 21″ H with some ability to adjust the height slightly. Please note, often times I will include a section at the bottom of my posts of “If I were to do this again…”. You may want to scroll down quickly to view this section first to ensure this project is right for you! 🙂
Now, for the table. Drum roll please…
Here’s what you’ll need for your kid’s craft table:
- 1 small IKEA LACK coffee table in color of your choice (mine is black-brown).
- 1 LINNMON table top size 59” x 29 ½” in color of your choice (I chose black-brown for this as well).
- Adjustable feet (if you need to slightly raise the table based on your desired height). I got all four of mine at Amazon for just $11.
- Bonding agent – I used this one and it has held great
- Drill
- Small piece of cardboard or paper to make a template for holes
IKEA LACK Coffee Table Hack Instructions
First we’re going to assemble the IKEA LACK coffee table BUT reverse the top and the shelf so that when it is built, the finished sides are facing up when you have the table laying on it’s top. The normal top of the coffee table will now become your base and serve as your bottom shelf. I promise it’ll make more sense as we move along ;).
Step 1 –First, place your piece of paper or cardboard and into the corner of the unfinished side of what is meant to be the top piece and mark where the hole is. This will now become your template to pre-drill holes for the finished side of the table since you are going to put the legs on the finished side.
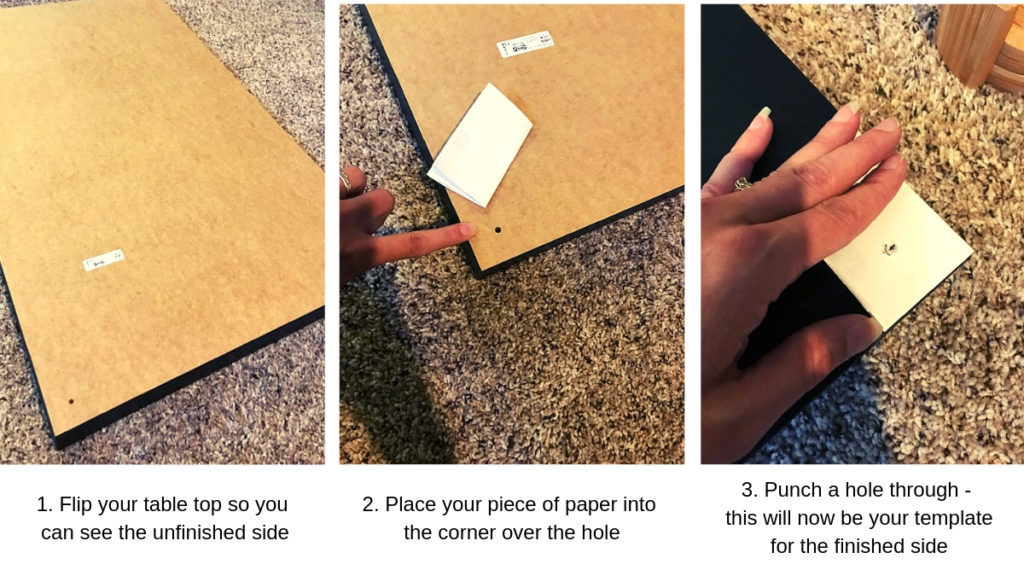
Step 2 – Once the template is complete, go ahead and add any feet that you have (if applicable) before you have completed the whole table (it’s just easier to do with it is one flat piece instead of the whole table :)!). I utilized one of the existing holes on the unfinished side in each corner for my feet and then drilled small pilot holes into the other places I needed to add screws to attach the feet. I actually did this step last so you won’t see it in my pictures, but it makes more sense to me to do it earlier.
Step 3 – Flip the top piece back over so that you see the finished side. Using your template, drill pilot holes just slightly smaller than the connecting piece IKEA provides into each of the four corners. You are now essentially going to build the table upside down and will attach all 4 legs as well as the middle shelf.
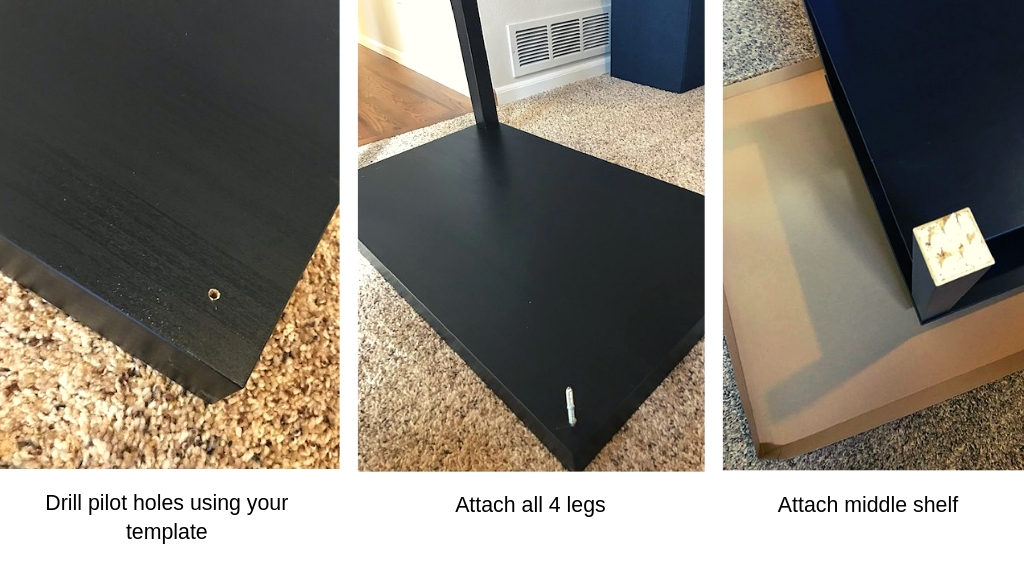
Step 4 – Once the you have added what will now become your middle shelf, flip the table back unto its feet and use your adhesive to affix the Linnmon table top. Be sure to measure so that the overhang is equidistant long ways and equidistant short ways. You are going to have a lot more overhang on the long side than on the short side.
Step 5 – Set some heavy items on the four areas where the legs and adhesive meet the table top and allow time to dry.
Yeah! You’re all done and now you have a great kiddo-size craft table with a ton of workspace and some additional storage. I found my baskets at Walmart that are similar to these plastic baskets that fit perfectly on the top shelf and these matching ones on the bottom shelf and they come in black or white.
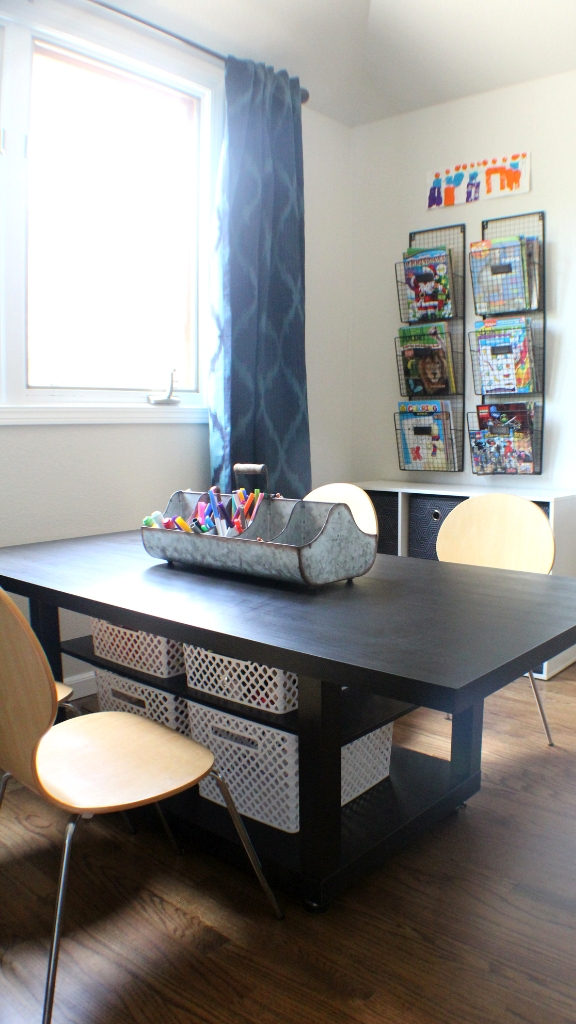
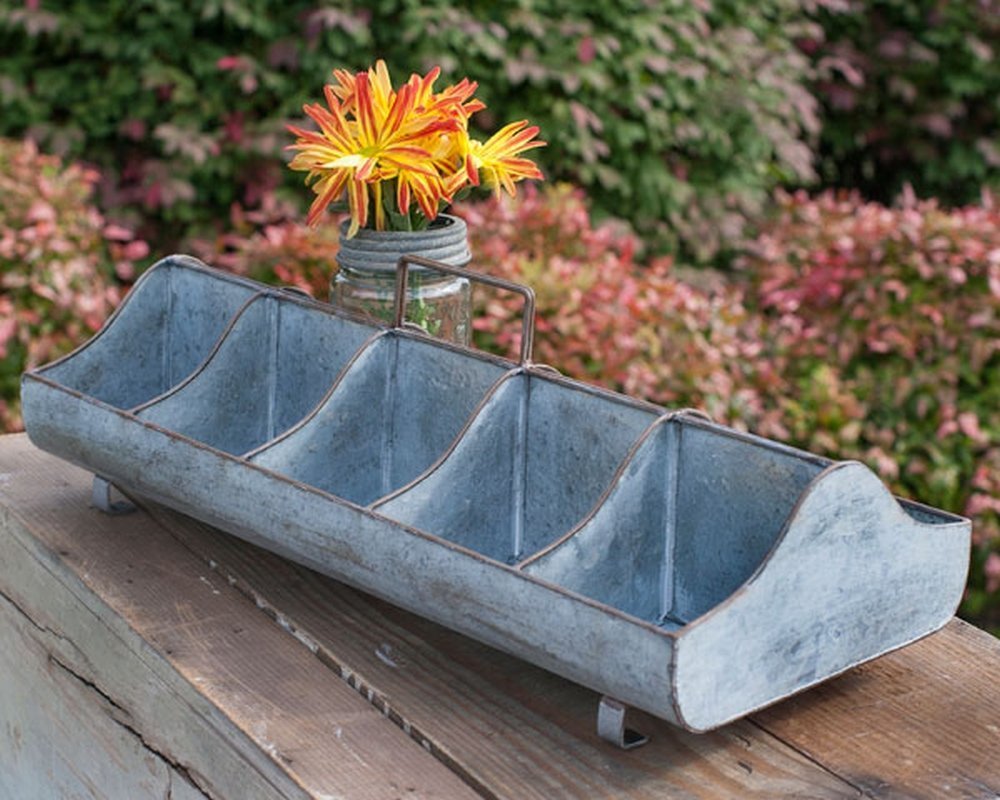
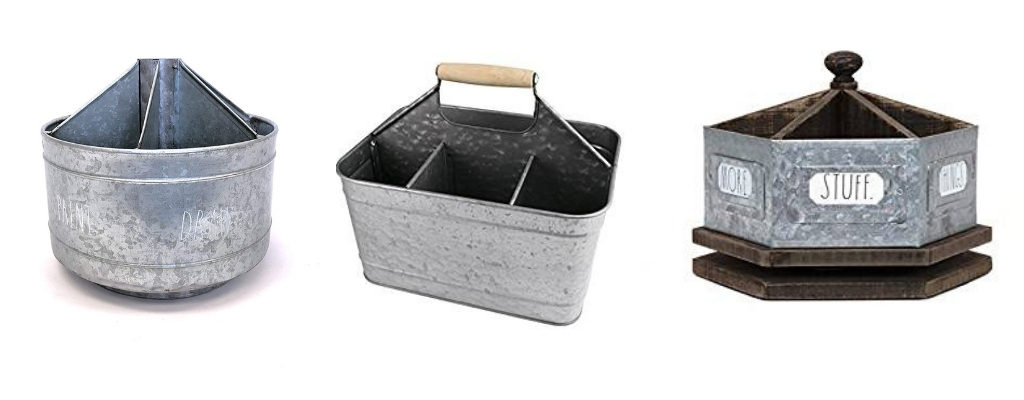
Also, keep all of those art supplies handy and top off your table with a great galvanized art caddy. Your little creative ones will go wild and crazy with creativity :)! Enjoy!
You know what else? Once your kiddos outgrow this table, it would make an excellent large coffee table with amazing storage!
If I were to do this project again…
While I love the height of the table and the storage it provides, I do wish that there was a little more overhang on the short sides. Once a kiddo sits in a chair with any kind of angled legs, they aren’t able to get as close to the table as I would like. It is still functional and there is plenty of room on the long ends, but if I were to do it again, I would consider finding a table top or even using two table tops to make the overhang one foot wider giving me an extra 6” on both the short sides.
At the same time, that extra width probably would not work as well in our space, and it would be harder to reach the storage baskets, so we’re just working with it and it has still been great! Just food for thought as you determine what works best for you!