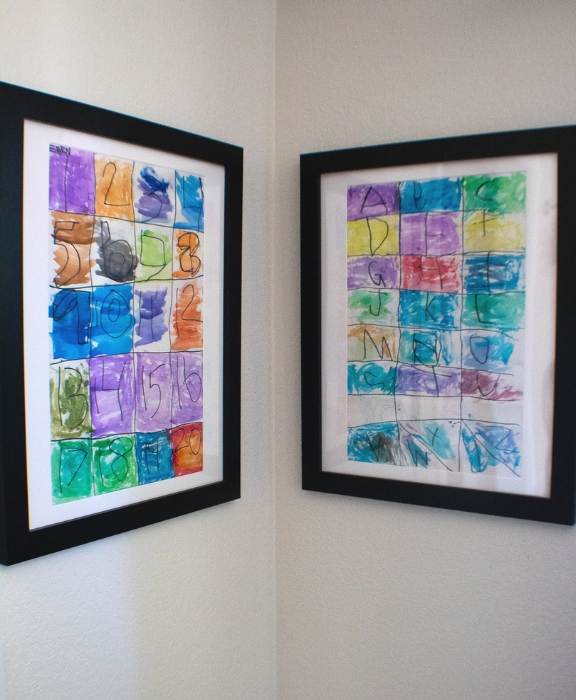
Our little guy came home from school one day with these awesome pieces of artwork. I knew immediately I wanted to showcase these babies in his Lego/Makerspace Room. We love this simple art project to add some color to a kiddos space!
Here’s what you’ll need:
- 2 pieces of whatever sized paper you want for your art piece. We used 12” x 18”
- Sharpie
- Water color paints and paintbrush
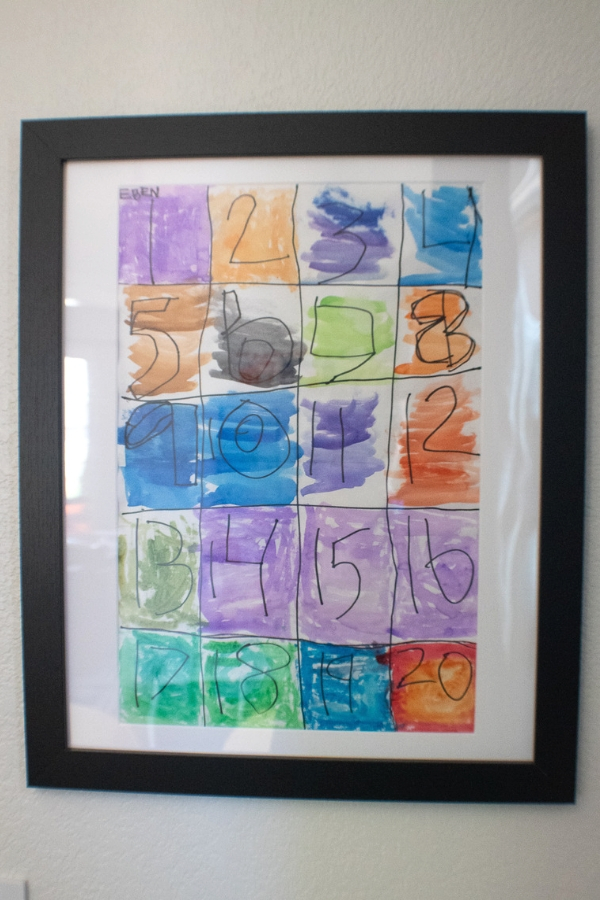
Instructions for Numbers Artwork
- You, or your kiddo, draw a grid of 4×5 squares (3 lines vertically and 4 lines horizontally) with a sharpie
- Have your kiddo fill in the squares with numbers 1-20 with a sharpie
- Bust out some watercolors and let your kiddo fill in the different squares with the colors of their choice
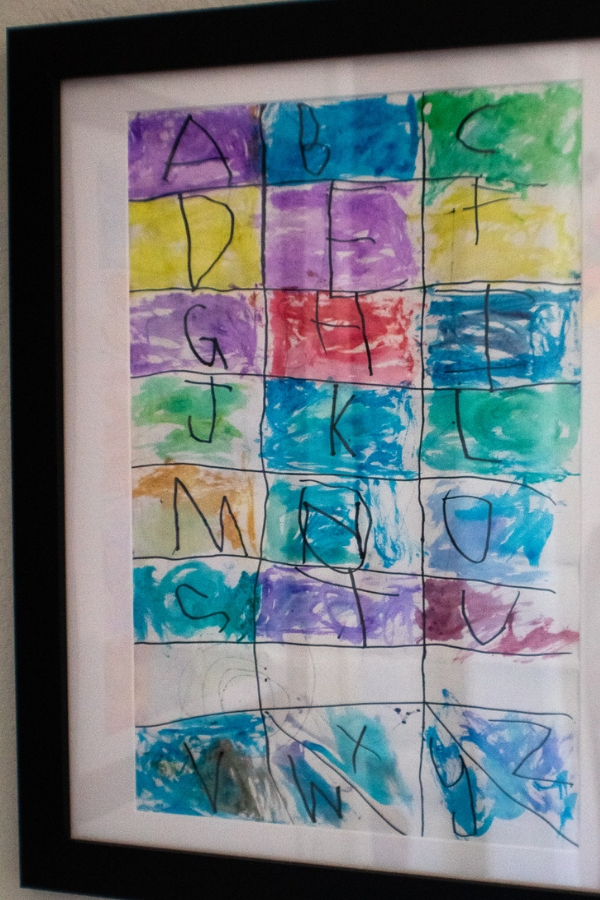
Instructions for DIY Alphabet Artwork
Repeat the process for the alphabet art but instead either make a 4×7 grid with 28 squares leaving a couple of squared open for other doodles or just blank, or you could do a 4×6 grid and simply draw a diagonal line in the last two boxes to have some letters share a space. My little guy did his at school so he has a unique grid of his own and he skipped a few letters along the way, but I love it nonetheless!
Allow the watercolors paint to dry and display your new beautiful pieces of art however you choose. I bought two 12×18” white pieces of matboard (framed at 16″x20″) and inexpensive black frames from Michaels for ours and they turned out great!
Happy painting!