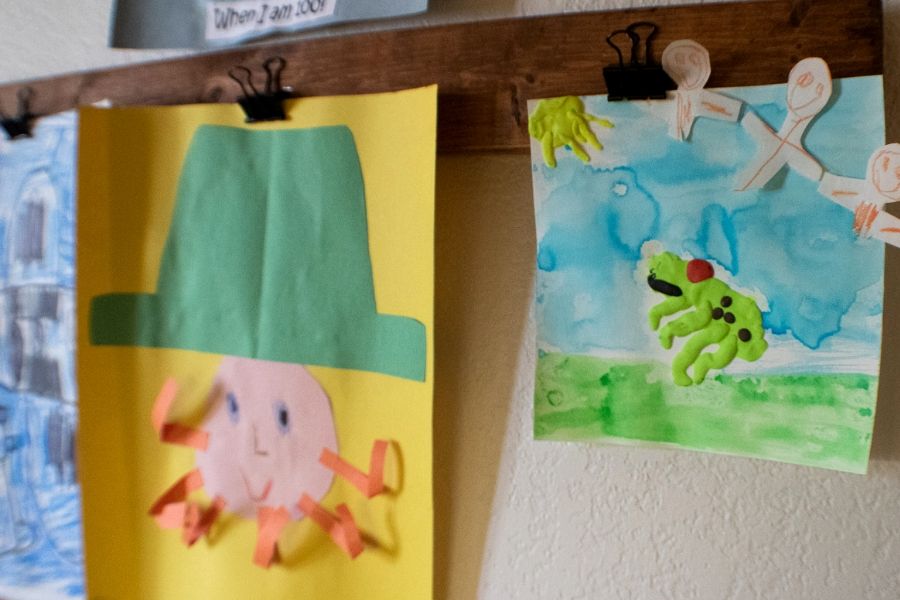
I’m constantly looking for creative and inexpensive ways to display my little guy’s artwork. It brings me such joy to see him grow in his creativity and I smile every time I get to see it.
I had a somewhat skinny wall next to our pantry on the way into Eben’s Lego and Craft Room that I thought would be perfect to showcase more kid’s artwork. With just one 8′ long piece of wood, some glue and binder clips, I was able to create super inexpensive, functional way to display a ton more art! I did do several things that didn’t work as well as I had wished, so learn from me young grasshopper and consider my extra comments below).
Materials Needed for Kid’s Art Display
- 8′ long wood strip (1″ x 2″ x 8′) – I used a furring strip – it was less than $2 but it is super rough on the backside which made it harder to use my 3M Command Strips on to adhere to the wall. I suggest a smoother piece of wood for this project if you want to use 3M Command Strips OR stick with the furring strip and use screws to secure to the wall :).
- Palm/Hand Sander (if you don’t have one of these they are super helpful and you can find decent ones for around $30)!
- Stain color of choice (I already had plenty on hand)
- Metal Bulldog Clips (note, I used black binder clips that I already owned but learned in doing this project that there isn’t as much surface area for the glue to hold. I think these bulldog type of clips would work much better)
- Glue (I used hot glue which did NOT hold well because of the pressure the binder clip has against the wood when opening. However, it was my only option as I needed something thick/goopy enough to provide enough surface area (past the clip part of the binder clip) and my wood. I suggest Liquid Fusion or your other high bonding glue of choice if you use more of a flat clip).
- 3M Command Strips or screws and anchors
Instructions for DIY Kid’s Artwork Display
Step 1 – Cut your wood strip down to your desired lengths. I made 4 equal pieces of 24″ each to run the full height of my wall.
Step 2 – Sand your wood (both sides) and wipe down.
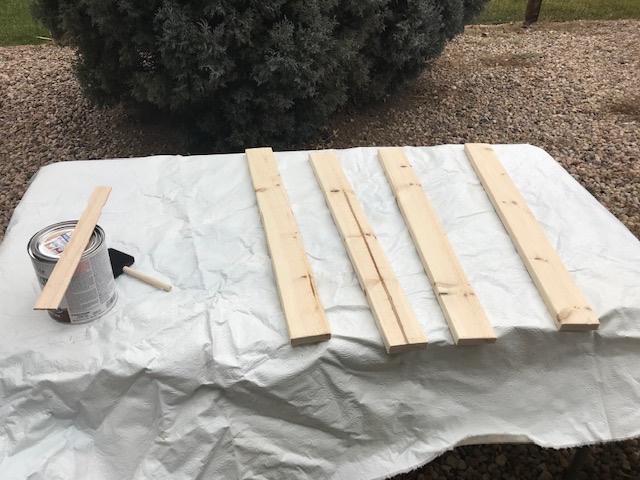
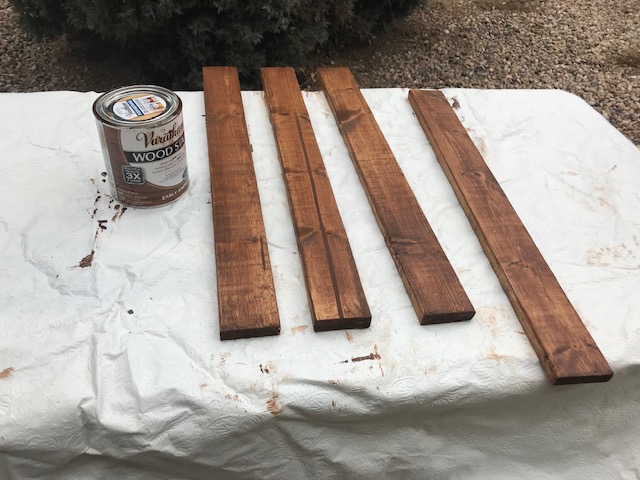
Step 3 – Stain your wood with your color of choice (mine is Early American and includes the polyurethane, so no need for an extra top coat). Allow to dry. You obviously don’t need to stain the back.
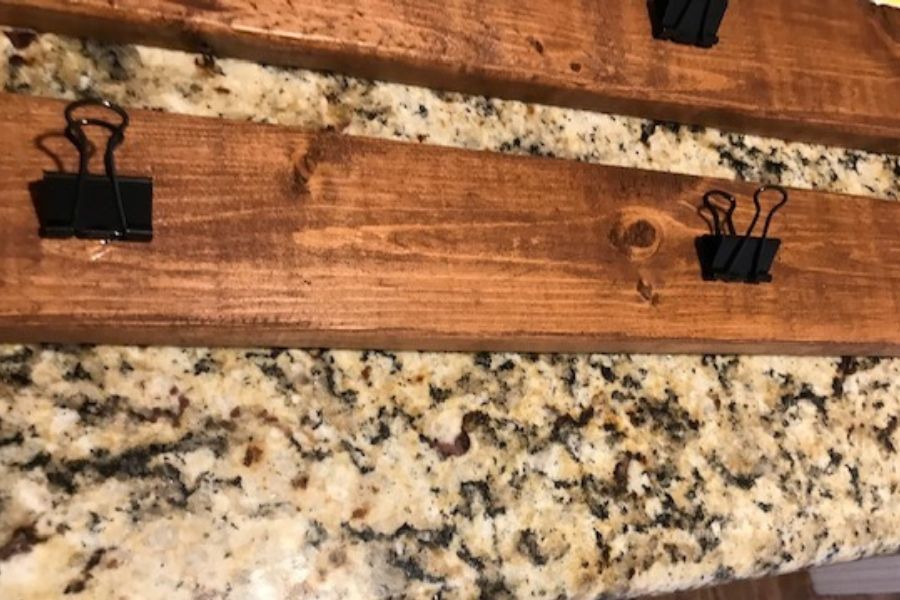
Step 4 – Measure the distance you want between your clips. I have 3 clips on each strip of wood. I centered the middle one at 12″ and then put clips on both sides about 7″ out from the center clip. This has provided a great amount of space in between the clips for hanging the artwork and 12 total clips on my artwork wall :).
Step 5 – After you mark where you want your clips, put glue on the back side of the clips and press down firmly. Allow plenty of time to dry.
Step 6 – Secure strips to the wall. I used 3M Command Strips which aren’t the strongest method considering the back of my wood strips were really rough. I actually plan to rehang my boards with screws. If yours is smoother, the 3M Command Strips will probably work just fine.
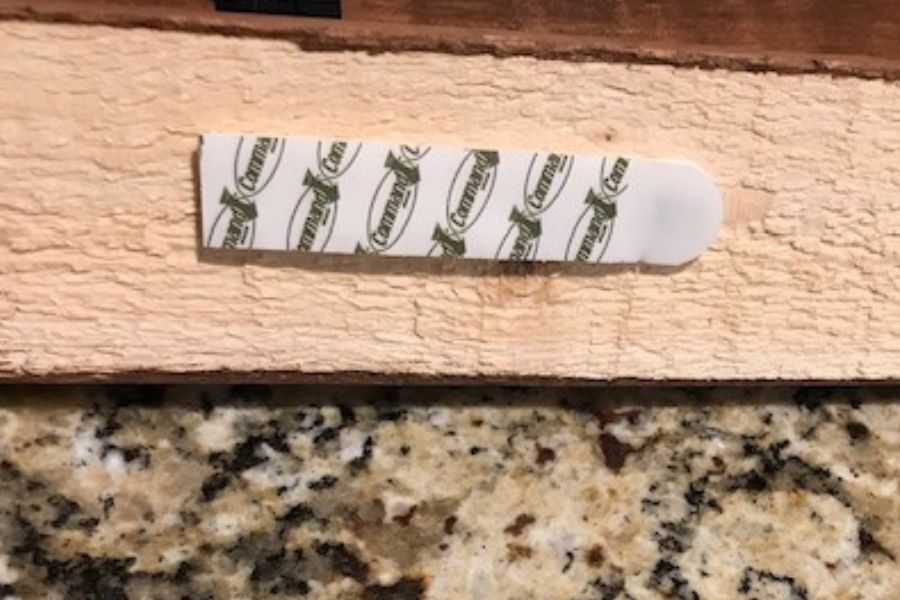
If you want to ensure more security, drill pilot holes through your strips (I would think in 2 places, in between your clips would work best) and screw into the wall. Use small anchors if necessary if you don’t hit a stud. The artwork isn’t heavy at all of course but the wood strips themselves still weigh a little bit :).
Step 7 – Hang lots of beautiful artwork and enjoy :)!!! I allowed for 11″ in between the bottom of one board and the top of the next, which gives a good 12″-13″ of clearance for the pictures due to the clip placement.
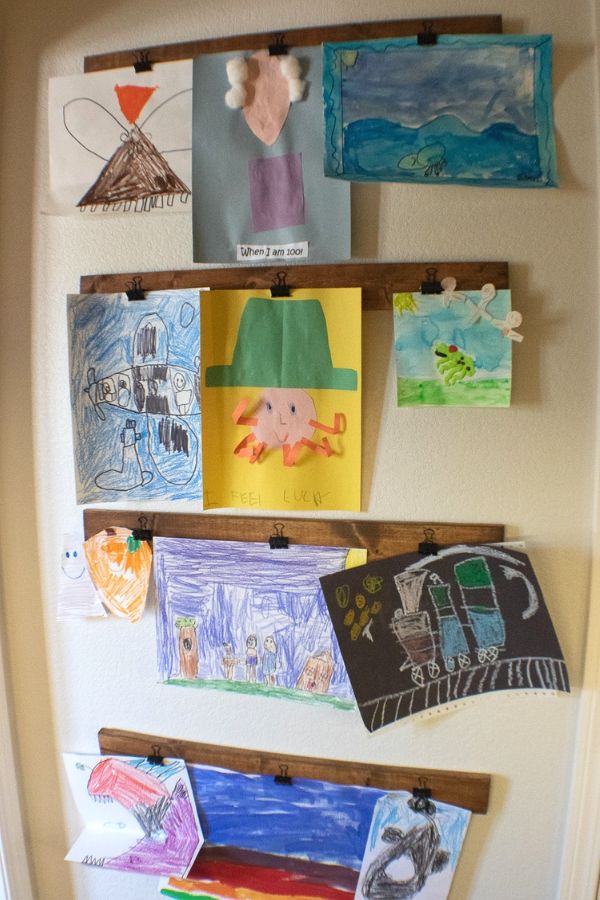
Here is our kiddo’s art wall showcasing his amazing work…
Even though I had a few little mishaps along the way and this post is a lot about what I did that you maybe shouldn’t do, the strips are up and serving their purpose well :)! I just know with the few little tweaks I suggested, these will work even better for you. I’d love to hear how this project goes for you!
