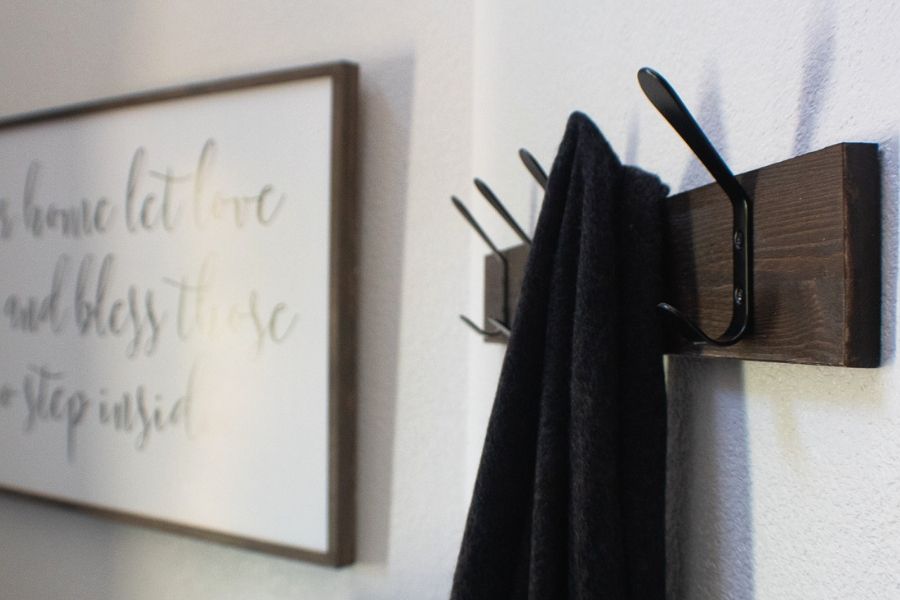
I love super simple projects that are functional as well! When we completed our entryway makeover, I wanted a simple, minimal wall coat rack that tied together the warm elements of wood with the industrial look of black metal. Some might say that it is a modern farmhouse coat rack.
I had an already stained shelf that I took it to Home Depot to have them cut it down for me. I love Home Depot! This gave me a great piece of wood to work with to simply add my minimal black hooks to. So whether you already have an existing piece of wood or not, here is what you need for this super simple project:
Materials for DIY Coat Rack
- Piece of wood (mine is 3 1/2″ wide x 27 1/2″ long)
- Stain or paint
- Palm sander
- Coat hooks – I bought these from Amazon. I got my coat hooks as an add-on item for $3.99/each but they are a bit hit or miss with the pricing. I also really love these hooks (on the right) from AliExpress :). And you get 10 of them for just $12.00ish!


Instructions for Minimalist Coat Rack
Step 1 – Sand your piece of wood and wipe down. Stain or paint your color of choice and allow plenty of time to dry. I had previously stained my wood when it was a shelf so I was able to skip this part for this particular project :)!
Step 2 – Determine the placement of your hooks. On my piece of wood which is 27 1/2″ long, I attached 5 hooks. I centered the middle hook and placed two hooks on either side at 4 1/4″ apart.
Step 3 – If you want to hide the screws you use to attach your coat rack to the wall, temporarily remove the two hooks on either side of the center hook. Drill a pilot hole in between the holes.


Step 4 – Measure where you want your coat rack to hang on the wall and use a level across the top to ensure it is straight. Once you determine the position, drill pilot holes into the wall through your new pilot holes. Remove the coat rack and install wall anchors if you did not hit a stud.
Step 5 – Using a countersink drill bit and flat head screws, screw your coat rack into the wall anchors/studs. If you don’t have a countersink drill bit, this step still works fine as you can see from my photo! Ensure that the coat rack is level again.
Step 6 – Reattach the two hooks you had temporarily removed over the top of the screws you used to affix your wood to the wall. This will completely hide the screws you used to anchor the wood to the wall, leaving a nice clean minimal look!
The final coat rack…
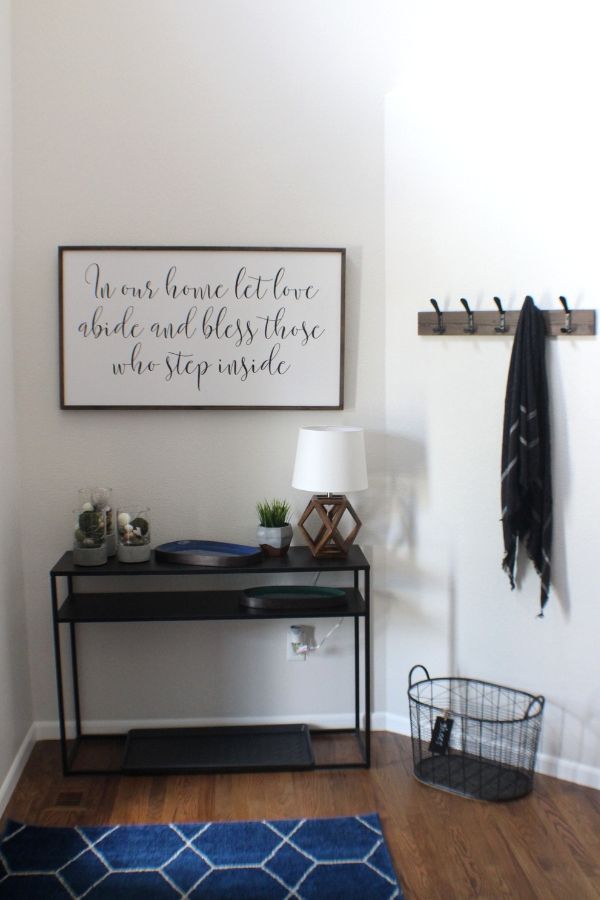
And that’s it! You now have an inexpensive, sturdy coat rack that you were able to tailor to your own style and size. Great job! Ours has been super functional for us and has served its purpose well. If you love this project, please share it on Pinterest!