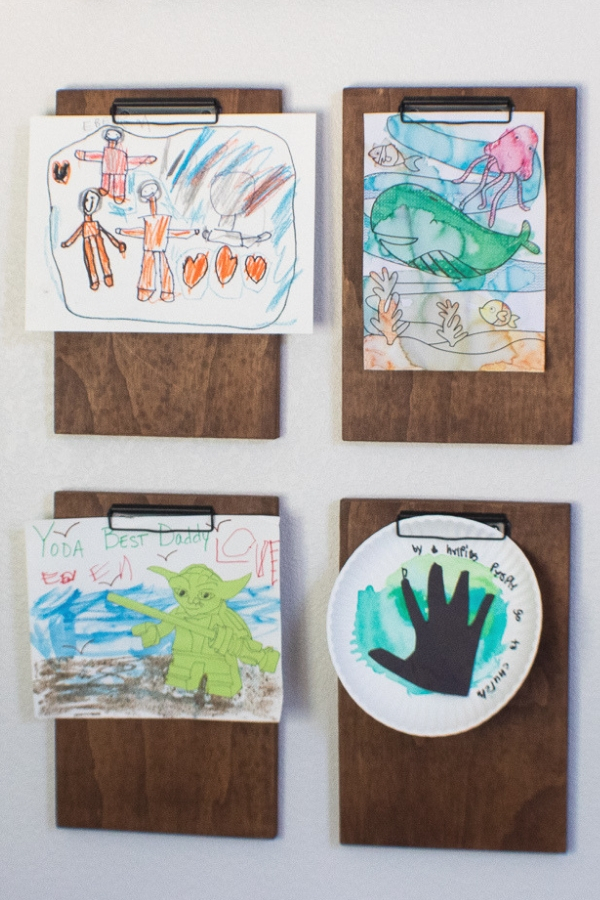
Hello there! I’m back with yet another way to nicely display your children’s artwork while keeping it super easy to change out what is on display. I’m a little cray cray when it comes to my kiddo’s creations. What’s best is that I was able to use leftover pressed pine board from our rock wall bunk bed project, so these were uber inexpensive!
DIY Wood Clipboard Instructions:
- Cut 4 equal pieces of wood (ours are size 9 1/2″ x 14 1/2″). You want to ensure that they are long enough to handle regular-sized paper from where the clip is. The 14-ish” has worked really well for us, but you could probably get away with 12″-13″.
- Use a palm sander to sand your pieces of wood and wipe them down
- Stained with my choice of stain (mine is Early American).
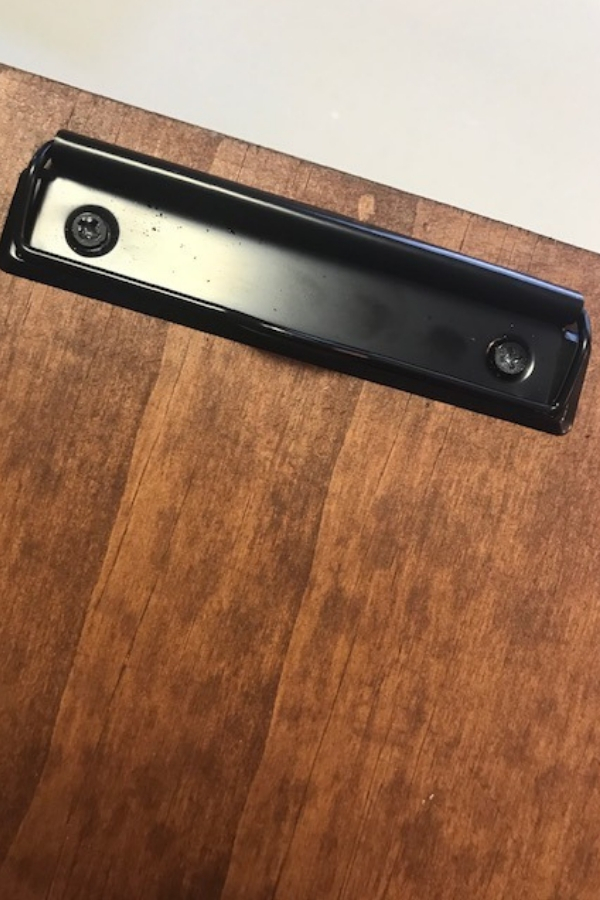
- After drying, I attached these low-profile modern looking black clips from Etsy in the center across the tops.
- To avoid holes in the wood itself, I used 3M Command Strips on the back to hang them on the wall. They haven’t budged a bit!

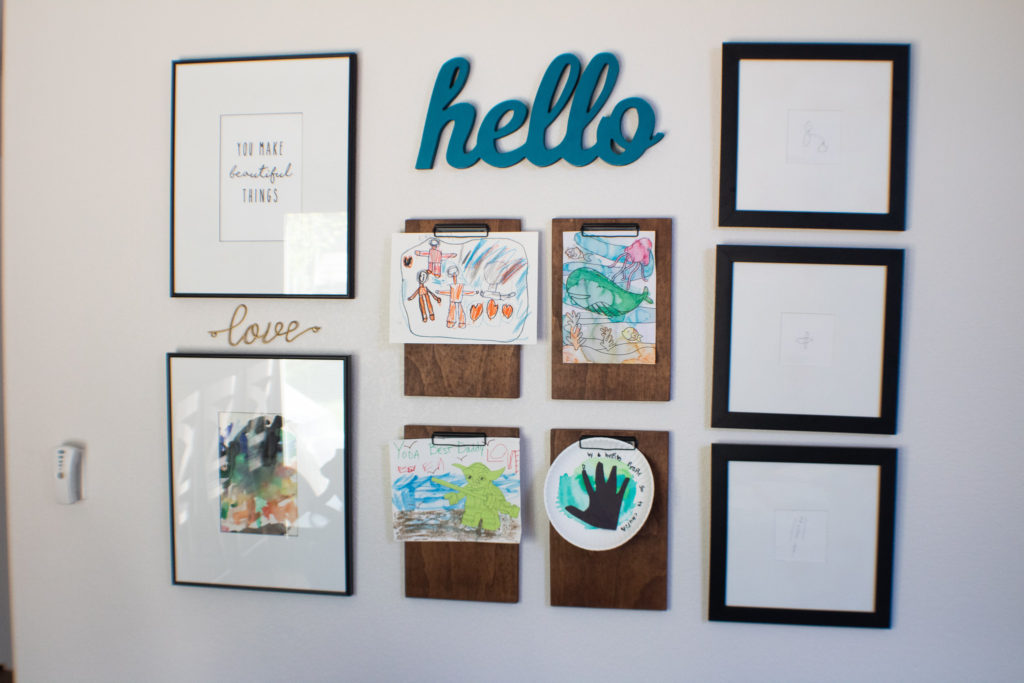
I included these DIY wood clipboards as a part of our gallery wall in our dining room and I love the life the kiddos artwork brings to this space! For more gallery wall ideas, check out this post :)!

And, as a total aside, if you are a Star Wars fan and enjoy bad lip reading, you’ll further understand the “Yoda Best Daddy” artwork featured above (lower left clipboard artwork) with the below video :)!. Check it out if you want a good laugh!