
So, we have A LOT of games. We love playing all different types of board games, card games, doing puzzles, etc. All of these games needed a happy home with easy access; so, after considering a few options, I landed on purchasing two of the 20” deep IKEA IVAR cabinets to place on either side of our fireplace.
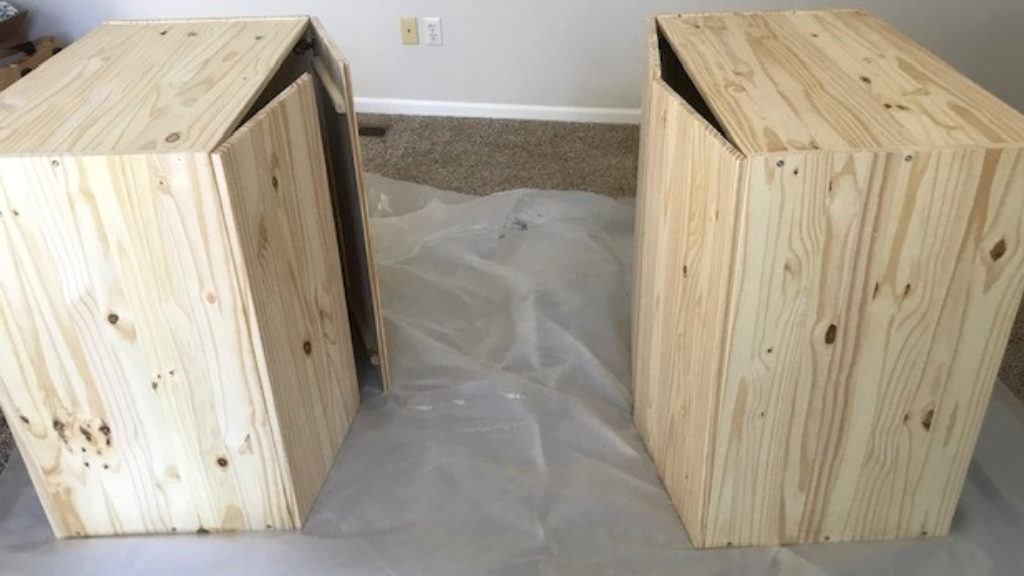
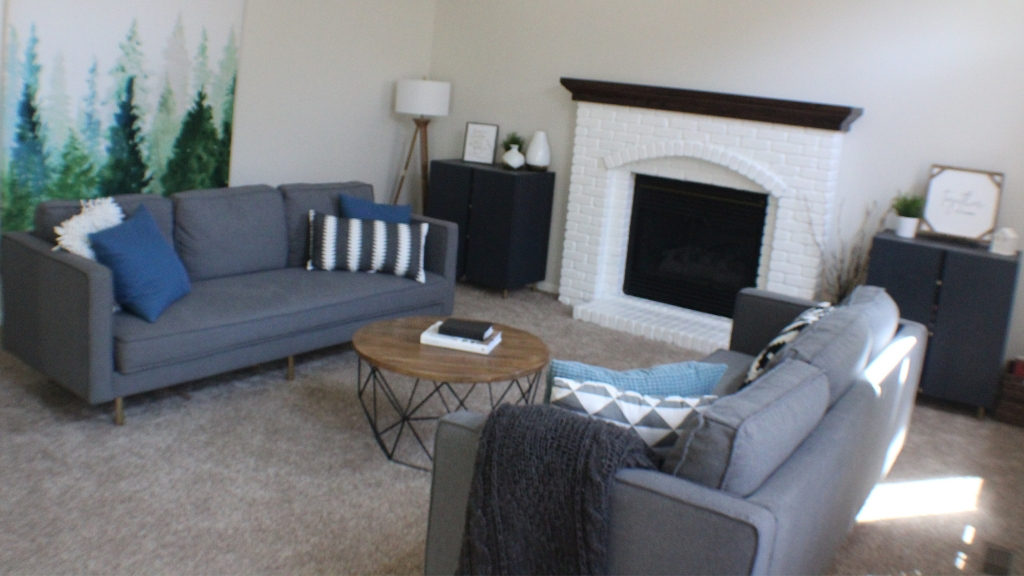
What’s great about the IVAR cabinets is that they are solid pine so they are super sturdy AND they can be painted (or stained) any color or pattern you’d like! I used some leftover navy blue paint from my son’s starry night ceiling project that worked great. I only painted the outside of the cabinets with a small foam roller and a brush and left the inside in its original pine form. One cabinet is designated for the kiddo’s games and puzzles and one for the adult games and placed one cabinet on either side of our fireplace. Our little guy loves grabbing stuff for us to play together out of these.
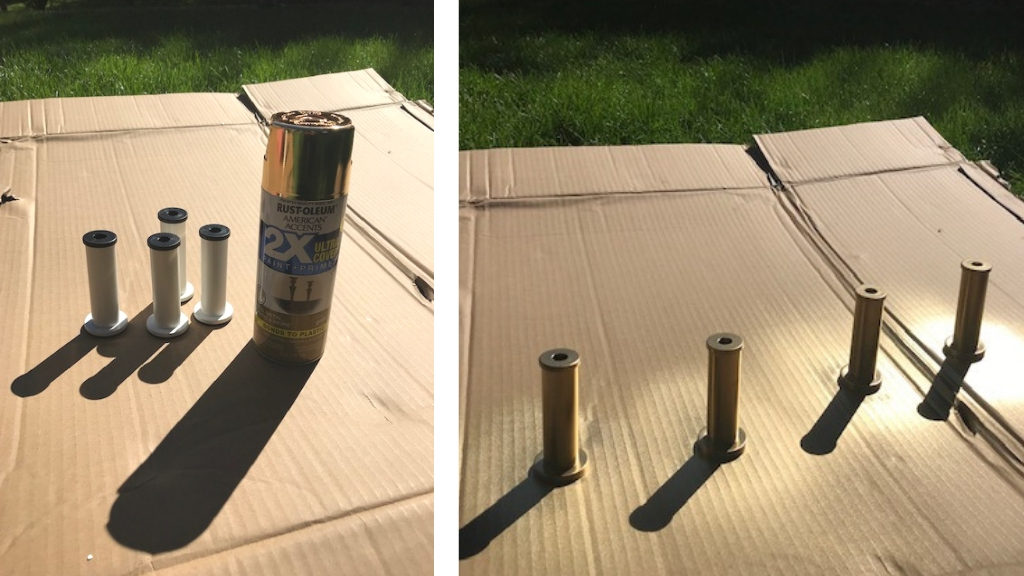
Both from a design and practicality perspective, I added IKEA’s Capita legs to each unit to add a little contrast and, more importantly, help the doors open more easily. I bought the white ones and spray painted them gold to match the gold legs of our couch. I’ve thought about adding pulls too but haven’t settled on what I’d like best, so for now it’s quite the minimalist look. I love having some extra horizontal space to display a few items as well!
Many people put these side-by-side as a console table, or stack them to create more of an armoire unit (make sure they are secured to the wall!), so there are lots of options to arrange these great cabinets to suit your needs!
If I did this project again…
I would do two simple things first:
- Quickly sand the cabinets. I feel like the tops are a little rough for wiping down and dusting.
- Attach the legs first to make it easier to paint along the bottom of the cabinets