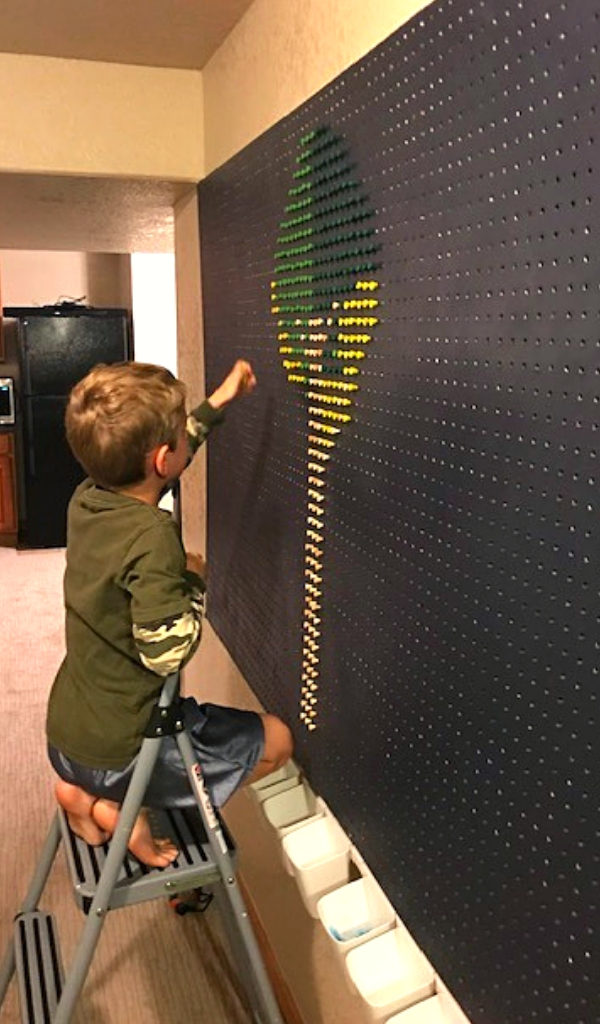
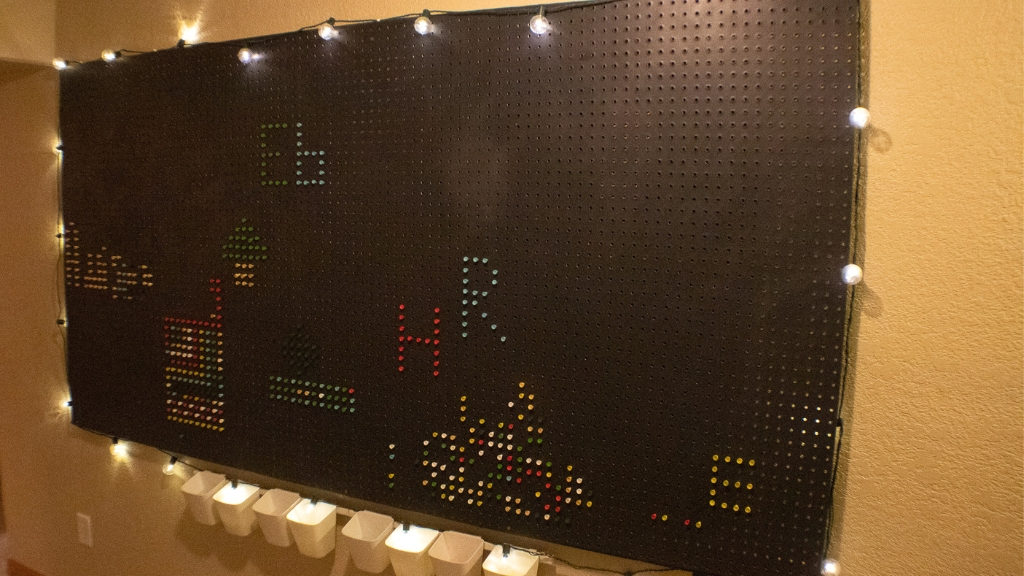
There is just SO MUCH you can do with good ‘ole pegboard. After completing my son’s secret nerf gun storage hideout loft bed project (I know that’s a mouthful!) we had an extra sheet of pegboard leftover. Coupled with my desire to cover up as much of the wall in my basement due to the exuberance of whoever was in charge with spraying on the texture , I took this opportunity to create a unique interactive pegboard art display for kids :)!

This project was super simple as I just painted the pegboard with the leftover Gotham Gray (a dark grayish blue) from my son’s night sky ceiling project. I used a smooth paint roller, affixed a couple of pieces of wood to our wall to hang the pegboard on, and bought a bunch of colorful golf tees and some inexpensive cup holders from IKEA to pull this project together. Here is the nitty gritty:
Pegboard Interactive Art Display Supplies Needed:
- Pegboard of desired size (my sheet is 4′ x 8′)
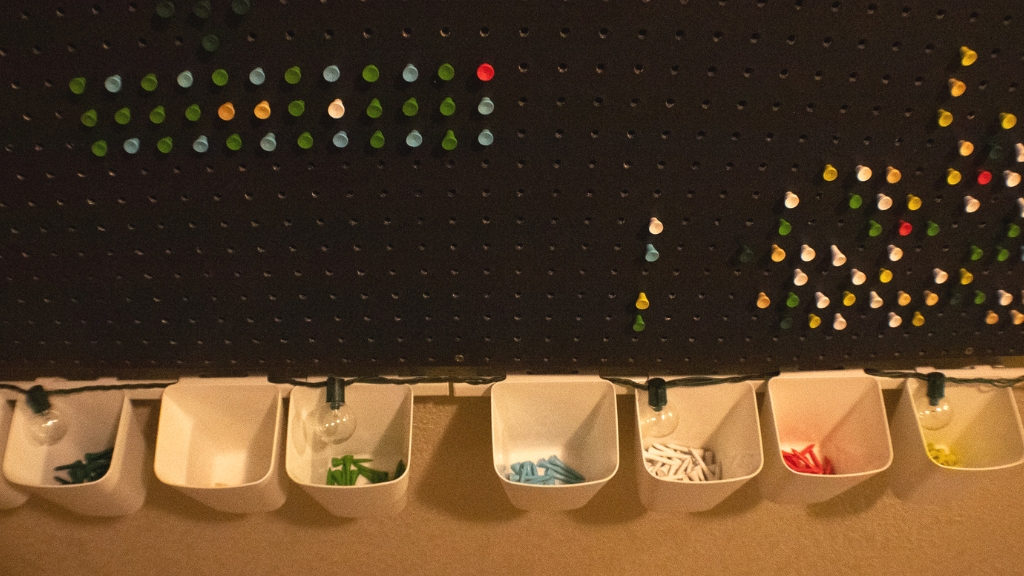
- Various colors of golf tees (I bought the 42mm size of various colors from AliExpress. I didn’t want them too long to run into the wall behind the pegboard :)!.
- Paint and small smooth paint roller
- Wood for mounting pegboard to wall (I used two strips of 1 1/2″ x 2 1/2″ x 8′ long to put along the top and bottom)
- Drill and long screws
- IKEA Sunnersta cups or similar hanging organizer

Instructions on How to Create a Kid’s Interactive Art Pegboard Display
Step 1 – Purchase pegboard at the size you need for your desired space. I used white pegboard and then painted it my color of choice
Step 2 – Paint pegboard with the color of choice and allow to dry fully. I used the darker color because I thought the colors would “pop” better and it reminded me more of Lite Bright. I used a firm, foam roller and did a few coats of paint to get complete coverage.
Step 3 – Using painters tape, measure and mark out the size of your pegboard and its placement on your wall. This will help you more easily affix your wood for the pegboard to be attached to in the right space. (I apologize I don’t have a picture of this step!)
Step 4 – Within your painter’s tape area, locate the studs in the wall you are going to hang your awesome pegboard. With screws long enough to go through your wood and insert into the studs (mine were 3″ long), attach your pieces of wood towards the bottom and the top of where the pegboard will be hung. I hung my at the very top and the very bottom to maximize the places where the golf tees could be inserted.
Step 5 – Screw the pegboard into the wood that you have already screwed into the wall.
Step 6 – Hang cup containers to keep your golf tees handy and get creative!

What do you think? It reminds me of a giant Lite Brite :). I’d love to find or create additional items for kiddos to use on this awesome pegboard like gears, tubes for marble runs, etc. Do you have other ideas as to what kids can do with their pegboard?
