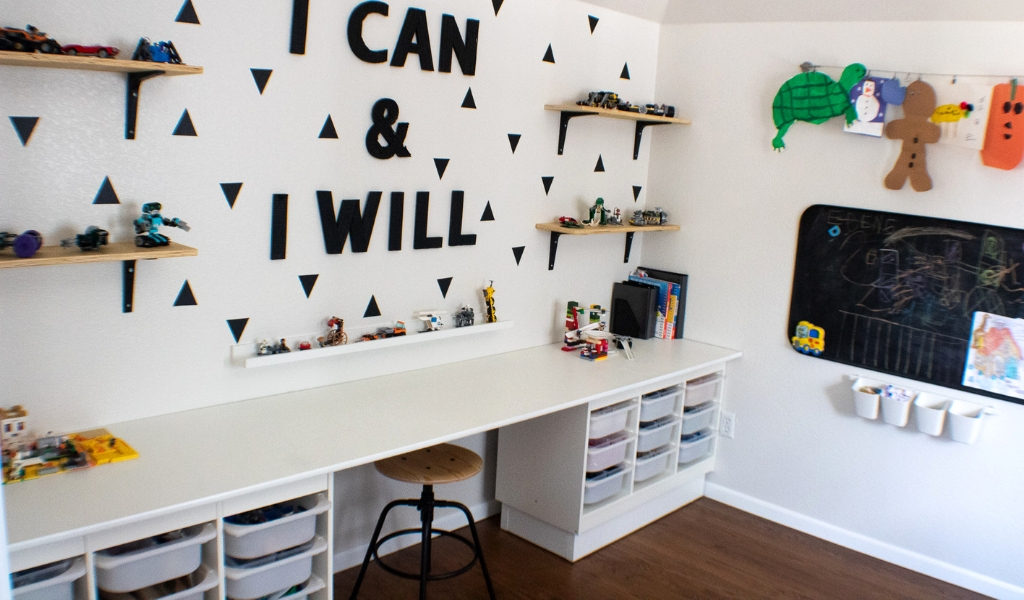
I LOVE filling our home with art pieces that my son makes or ones that he is able to help me with! So when it came to envisioning our Lego/craft room, I really wanted to have a large, bold, inexpensive statement as the focal point of the Lego table wall. We created this art project for about $40 and it was a great project for my little one to help with me.
I quickly landed on the statement, “I can & I will” not only because it is personal to me as a part of our baby loss journey, but because I wanted to encourage my little guy to always know that he has the ability to create (he can) and that if he puts his mind to it, he will do it. Now, that doesn’t mean that we won’t ever fail, or even that everything will turn out exactly as we planned if we “just do it”. But, it does mean that we can learn from our failures or disappointments and we will grow from them.
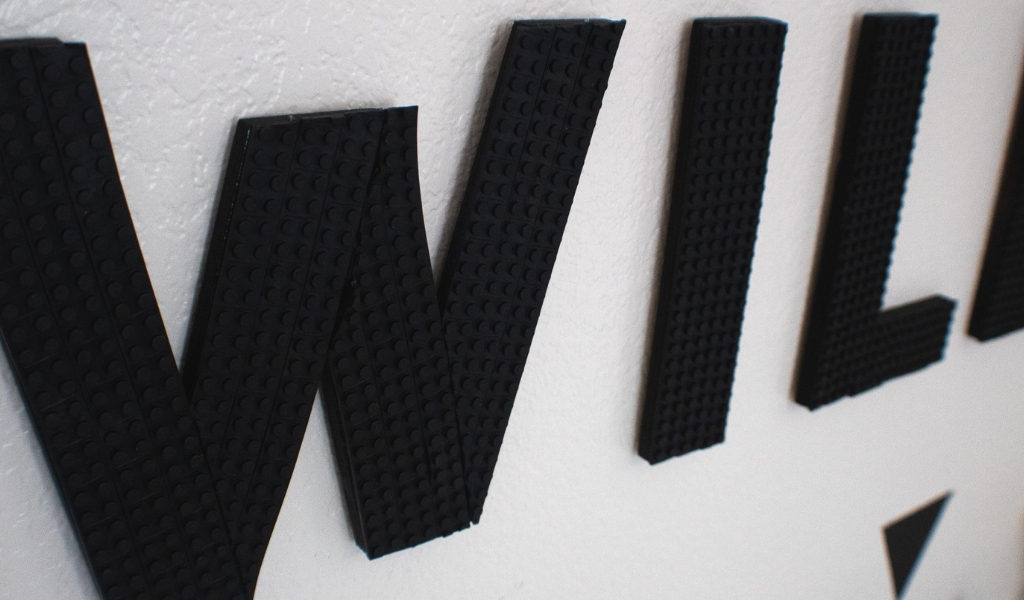
Ok, back to the actual art project :)! Even though the Lego texture on the letters is a bit subtle, I really wanted to add this unique element to this awesome Lego room. In keeping with our black & white theme and allowing the Legos and other artwork to be the color in our room, I went with all black letters.
Here’s what you’ll need for your Lego letters:
- Chipboard letters to spell out the word(s) you plan to make. Mine are 8” tall and I scored them at 50% off from Hobby Lobby, making them only $1.00 each :)!
- Spray paint in color(s) of choice
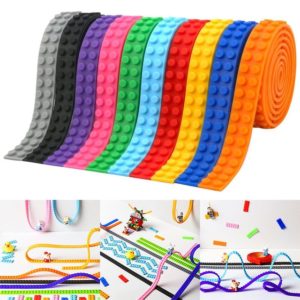
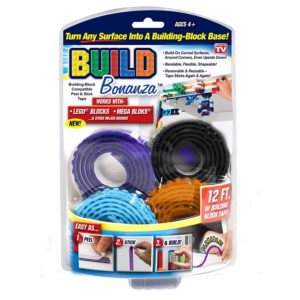
- Lego tape strips with adhesive backing (you’ll have to do some guesstimated math to figure out how many you need based upon your words and size of the rolls you find. I used almost 14 rolls that were two studs wide and approximately 100 cm (about 40”) long to complete all of my letters.) I purchased mine from AliExpress for about $2/roll. Here are some similar ones in a variety of colors from AliExpress. Remember anything from AliExpress will typically take 3-4 weeks to arrive. So, if you are in a hurry, you can get these from Amazon, but you may pay more and/or have a harder time getting the color(s) you want.
- Scissors
- X-Acto knife or box cutters
- Cutting Mat
- 3M Command Strips for hanging on wall
Instructions for Lego Letter Wall Art:
Step 1 – Put part of a Lego strip around your head to get your Lego word art ninja-self ready for this awesome project! (ok, step one is optional) 🙂

Step 2 – In a well-ventilated area, spray paint the front and sides of the letters the same color as the Lego tape strips you plan to use and allow to dry. Even though you are covering the front of the letters, there still may be small portions that peak through and you still will be able to see the sides.
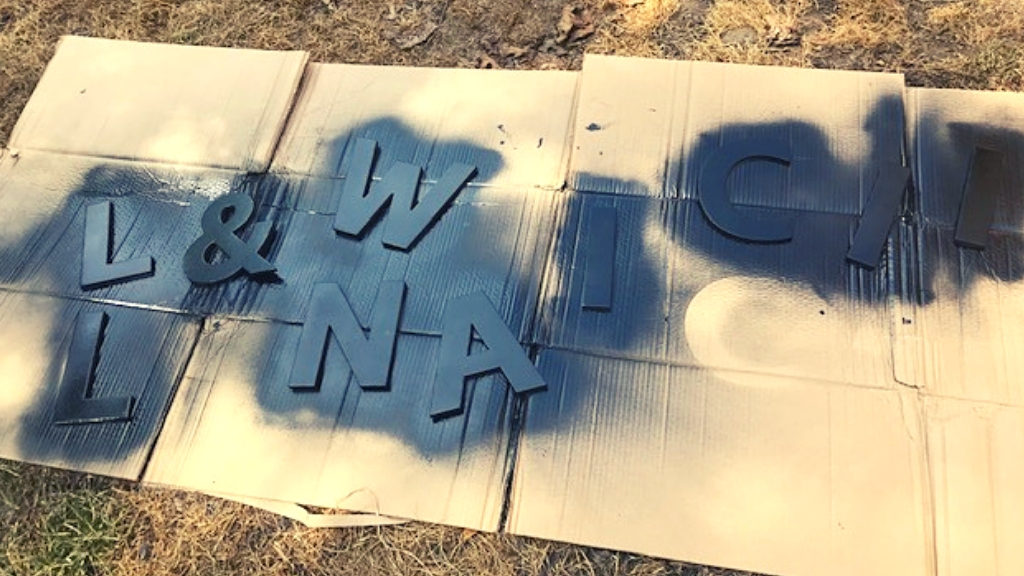
Step 3 – Once the letters are dry, you can start applying the Lego tape strips. Simply take your strip and place along your letters to determine where you need to cut. After cutting the strip to size, remove the adhesive backing and press firmly down on your letter. With the strips I used only being 2 studs wide, I had to do a couple of columns of Lego strips to completely cover the letters. For a couple of letters, I cut the strips lengthwise to have a one stud wide piece to help cover the letters completely.
Step 4 – Obviously, some letters and shapes will be more complicated than others. For curved pieces, I went ahead and allowed a little bit of overhang when placing my strip. Then I went back to cut off the excess strip with either scissors or the X-Acto knife once I was done covering the letter. By far my most complicated shape was my ampersand. While it isn’t 100% perfect, it still looks just fine hanging on the wall in the context of everything else. So, be sure to give yourself some grace!
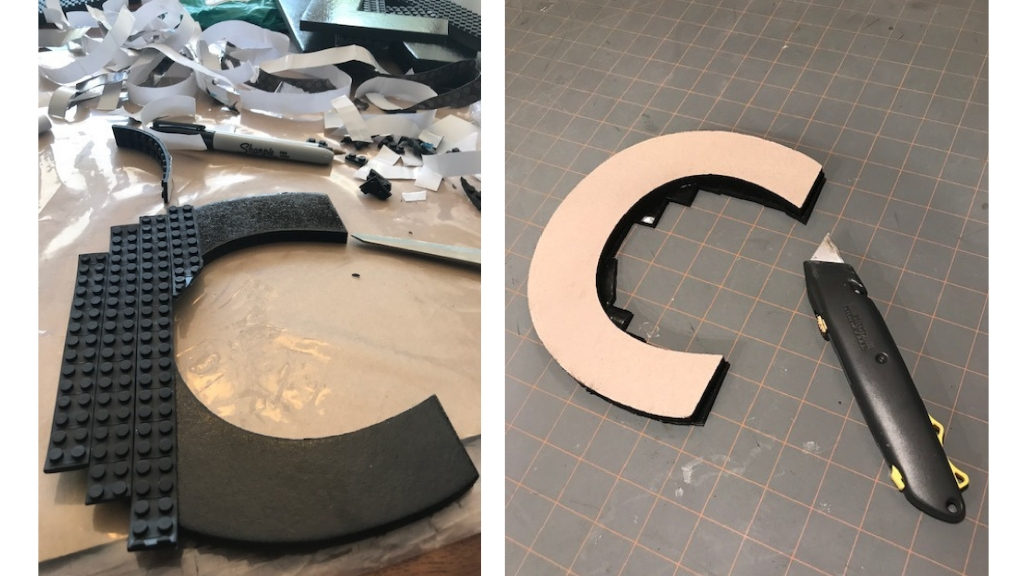
Step 5 – Once all of your letters are done, adhere 3M command strips to the back. Follow the instructions to prepare your wall, and stick those bad boys up on the wall for all to enjoy :)! If you are interested in adding another easy graphic element, check out these triangle decals. They go on and come off super easy and were very inexpensive.
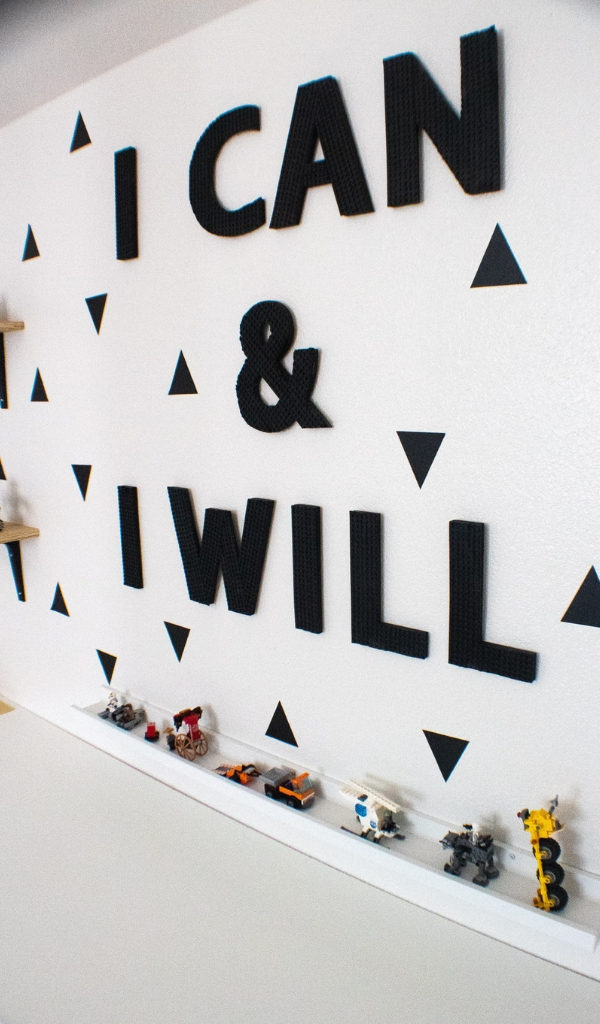
We love the statement art piece that we made! What do you think? I’d love for you to share your Lego word art with me if you try this project too! And, to check out our completed Lego room and craft room, read this post :)!
