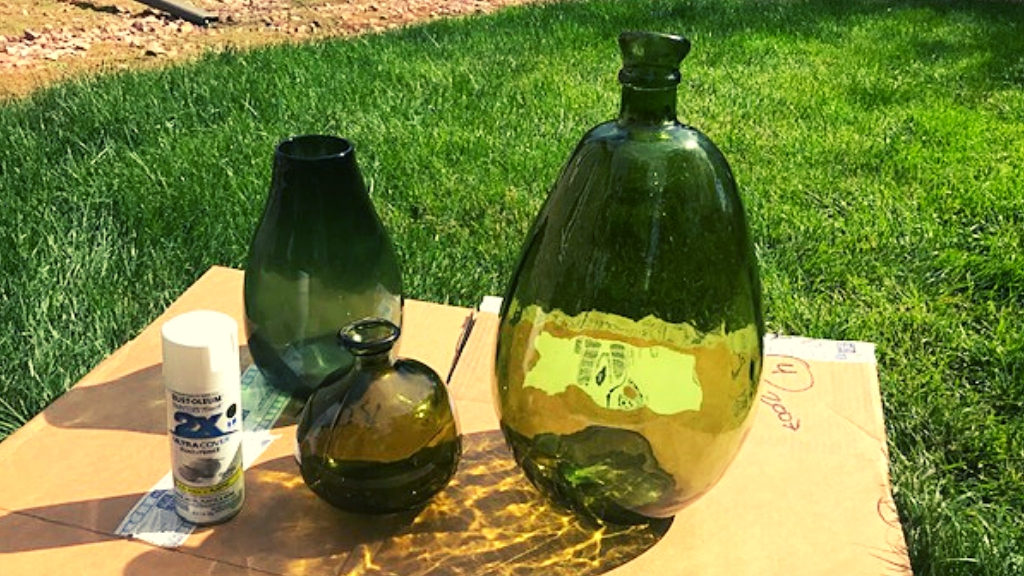
When we bought our house in Colorado, the previous owners left behind three large green vases. Wanting to be as frugal as possible as we were reeling financially from the cost of moving and from various other expenses that came up (like me accidentally triggering our fire extinguisher in EACH of our two cars, garage doors breaking, unexpected medical expenses, etc.), I decided to hold onto these green guys even though they didn’t match my décor.

Enter spray paint. I love spray paint. You can really change the look of so many things with a simply $5.00 can of paint! For this project I used Rustoleum’s 2X ultra cover. It provided nice coverage, but also gave the vases a tiny bit of texture, which I didn’t mind. I decided to paint these green vases white and add some gold accents to display in my living room.

Here’s the quick and easy for this DIY glass vase spray paint project:
Step 1 – Clean your glass vases.
Step 2 – Slowly and evenly spray paint your vases with your base coat. Let dry and repeat if necessary. I didn’t worry too much about completely covering the bottom portion of my vases because I knew I was going back over it with the gold paint.
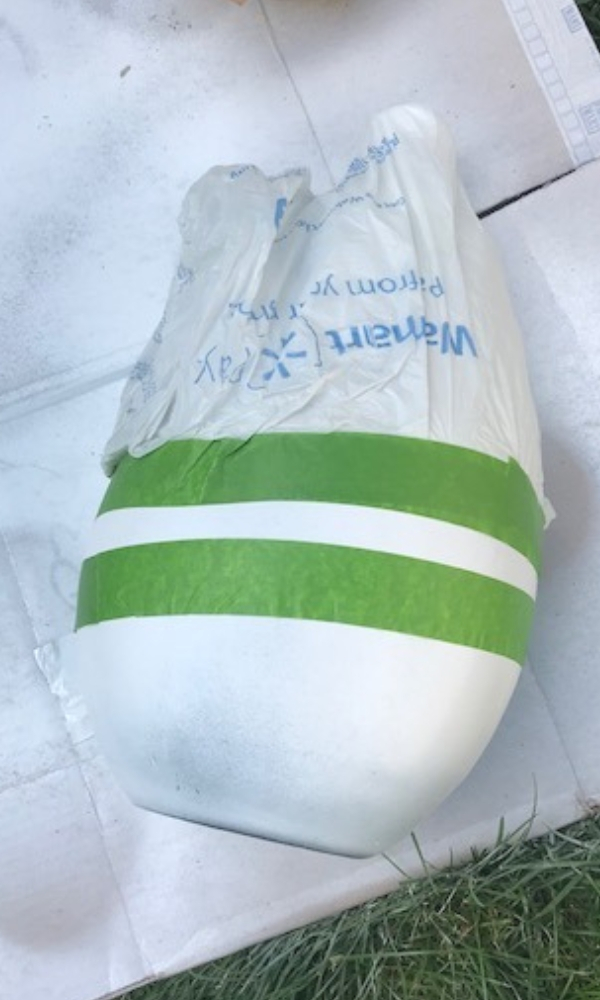
Step 3 – Tape off where you want your base color to show through. I wanted to cover the whole top of my vase to keep my base color, so I used painters tape to make my design AND to hold a plastic bag in place to cover more of the vase.
Step 4 – Spray paint (again slowly and evenly) with your accent color (I used a metallic gold). Let dry and repeat if necessary.
Step 5 – Carefully remove painter’s tape and display your lovely newly painted glass vases!
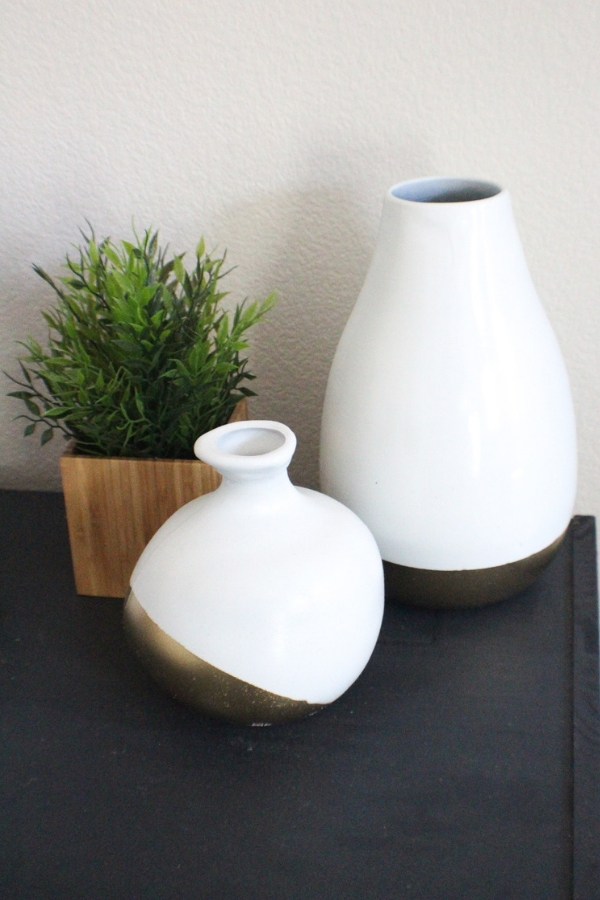
Here’s the finished beauties proudly displayed on our IKEA Ivar cabinets! What do you think?
