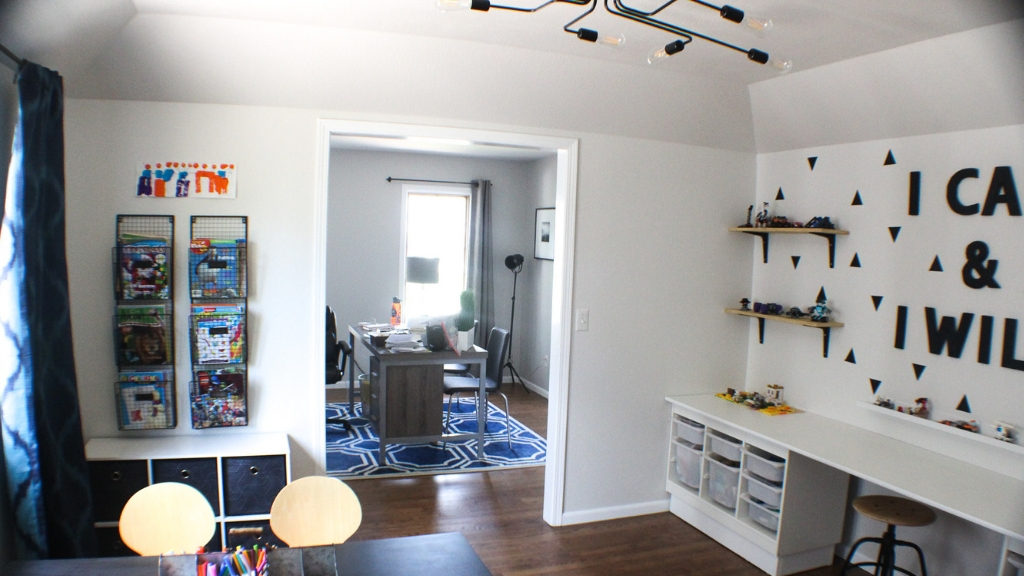
We are so blessed to have a whole room right off of our kitchen we can dedicate to Eben’s Lego room/makerspace/craft room/whatever he wants to call it any given day. I can’t wait to share this makeover with you!
Lego Room Makeover
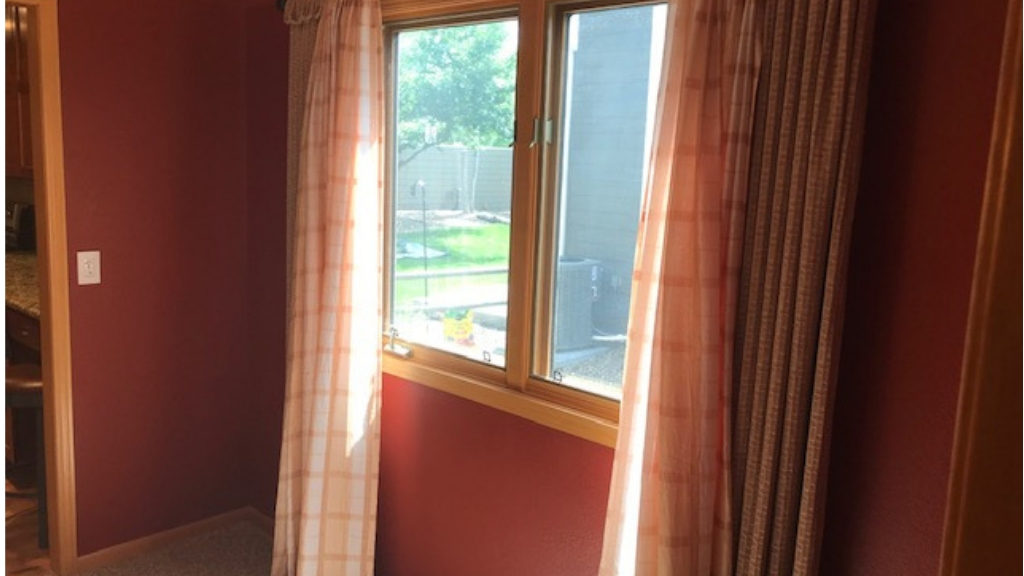
Here is the space before. It is technically a formal dining room. When we bought the house it had dark orangish-red walls, giraffe patterned curtains, a low hanging light fixture and carpet. Why carpet in a dining space is still a thing I will never understand. We have heard of children right?!?
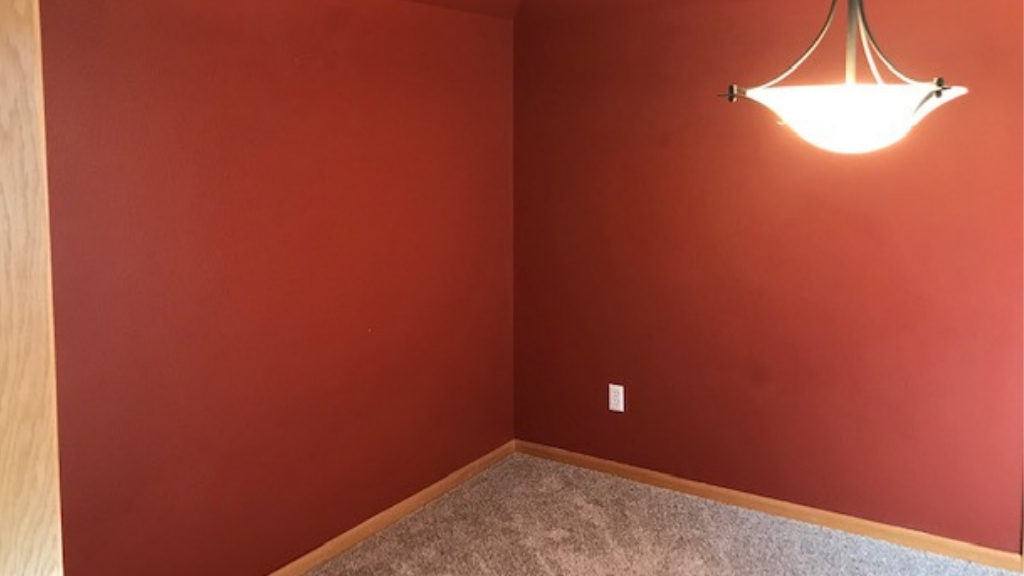
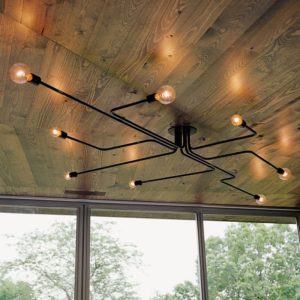
We ditched the low-hanging light fixture with an industrial style flush mount one (for less than $50!) with edison bulbs that provides a ton of light. You can see part of it in the picture above, but here is the full product. You can get this light fixture at Amazon for $60 or for a little less on AliExpress. If you have any issues with the product or need it faster, it’s probably worth the extra $10ish to buy from Amazon ;).
Anyhow, the carpet in this room and the adjacent room (hubby’s office) had to go. Our floors needed refinishing anyhow so before we moved in, we thought it wise to get hardwoods in these two rooms as well. Even though we had only budgeted for about ½ of the cost for new and refinished floors, I am still SO thankful that we did it. The flow is much better and the floors turned out beautiful. It helps the flow of the house and is much more practical!

In addition to the floors, the orangish-red walls and clashing giraffe curtains were making me nauseous! After priming the walls, I finished the walls and ceiling off with two fresh coats of Origami White paint from Sherwin Williams. I LOVE this color. We wound up painting the majority of the rest of our main floor this color too. It is a lovely white with a grayish tint that still gives some warmth and provides a beautiful contrast next to the white trim (oh yeah, I painted all the trim and baseboards too!) Here’s a look.
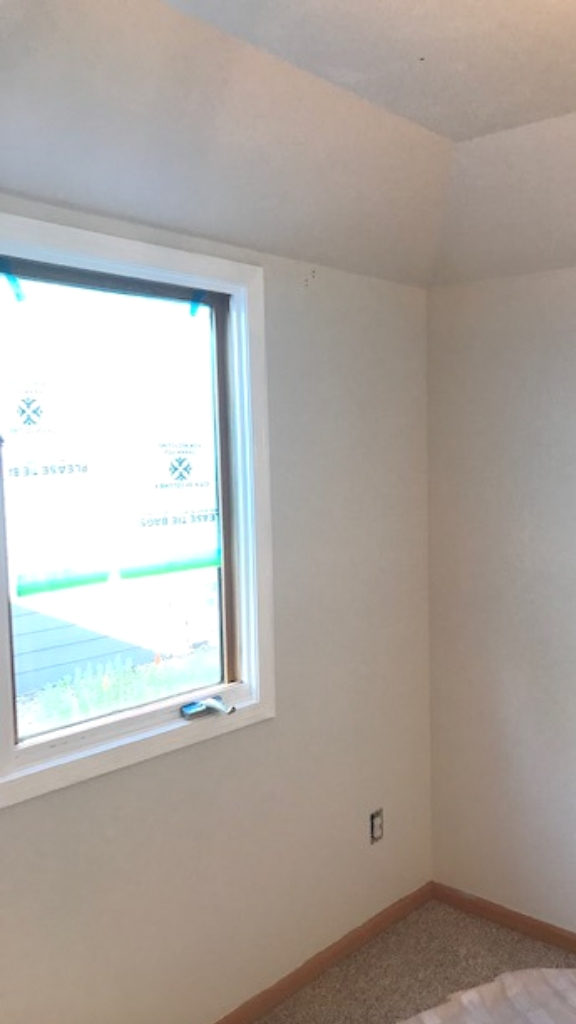
Phew, much better. No more giraffe bloodbath.
I’ve really been into the whole black and white contrast thing lately with some natural wood tones, so I introduced black and white elements in the furniture and the main wall décor. With all of the color of the Legos themselves and the large amount of kiddos art I wanted to display, I figured there would be plenty of color coming from other sources.
Lego Letters Wall Art
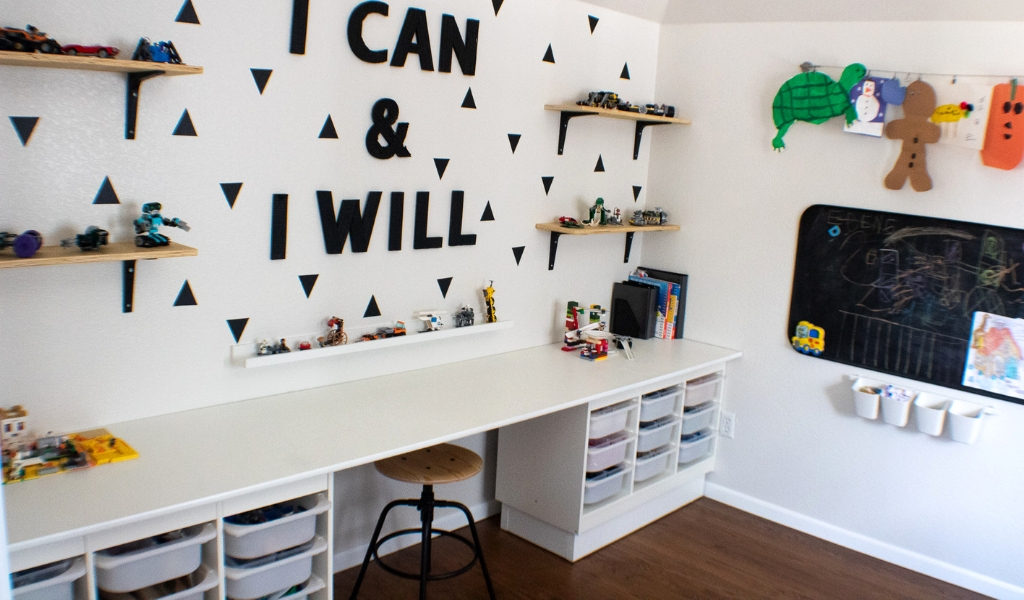
Eben and I made the “I Can & I Will” Lego letters together (we had a lot of fun!) and I purchased the black triangle wall decals from AliExpress.com (they come in lots of fun colors!). For more on the Lego letters, check out this post :)!
Lego Table and Storage
You may recognize the Lego organizing bins as the Trofast Furniture from IKEA. These babies have worked out great for us! However, I hacked these just a tiny bit to raise them up so the table would be standing height for my little guy. Sitting is the new smoking right? (Get more info and products about the sitting epidemic here…) I threw a height adjustable stool in there too though for when he needs it (actually, mommy usually winds up using it!). If you are interested in learning more about this super sweet table and organizing system, here is the post!
DIY Lego Display Shelves
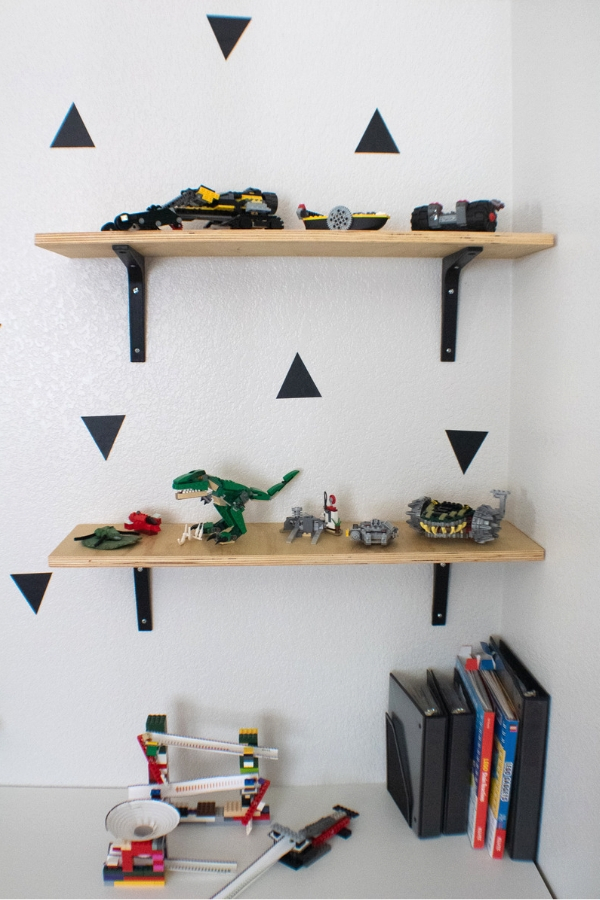
Now, how to display these awesome Lego creations? With some leftover pine from Eben’s bedroom project, we cut four shelves, put a clear coat of polyurethane on all sides, and used IKEA EKBY brackets at just $0.75/each to hang these guys. They work out great! Check out this post for more info :). I’m thinking about adding a third shelf on each side because there are SO MANY LEGOS, but haven’t decided yet.
Kid’s Magnetic Chalkboard
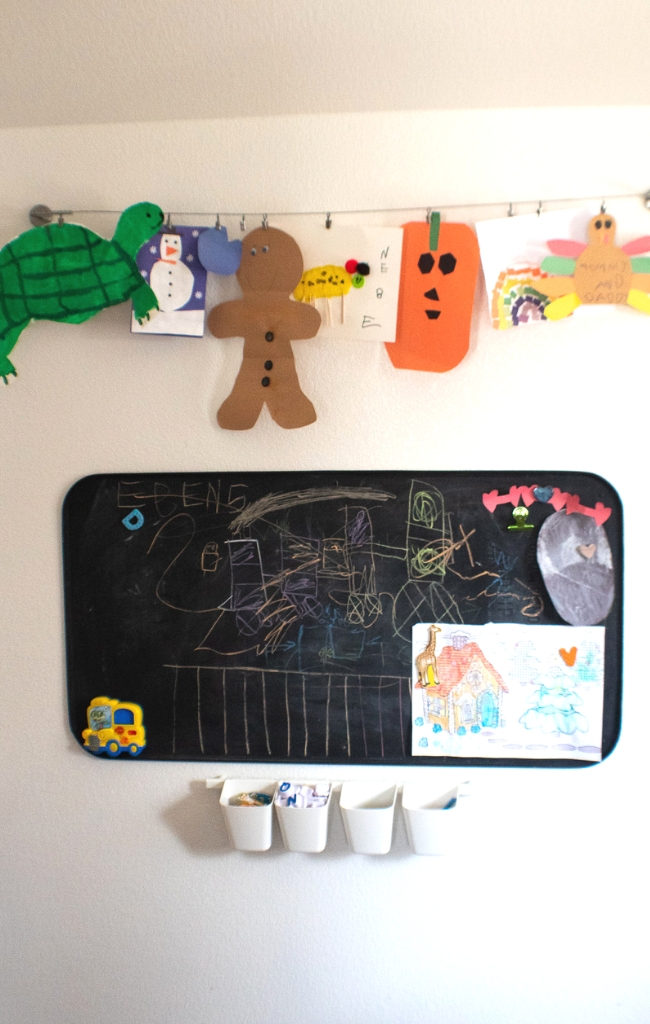
And what’s a creative/makerspace/Lego room without a magnetic chalkboard? This chalkboard painted oil drip tray (found at Walmart) has worked perfectly for us. Coupled with IKEA’s Sunnersta cups and rails, this is a sweet little spot for impromptu creativity.
DIY ABC and Numbers Artwork
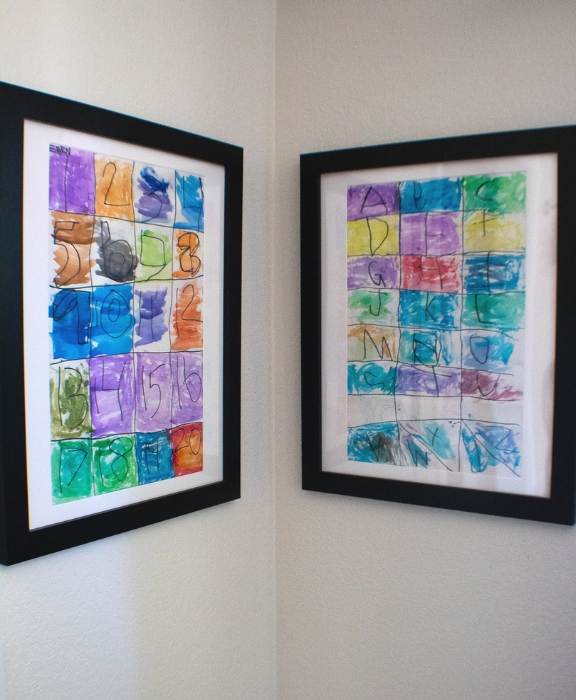
I included some great kiddo-made art with this simple alphabet and numbers art project showcased in inexpensive Michael’s frames and matboard.
Kid’s Coloring Books and Magazine Storage
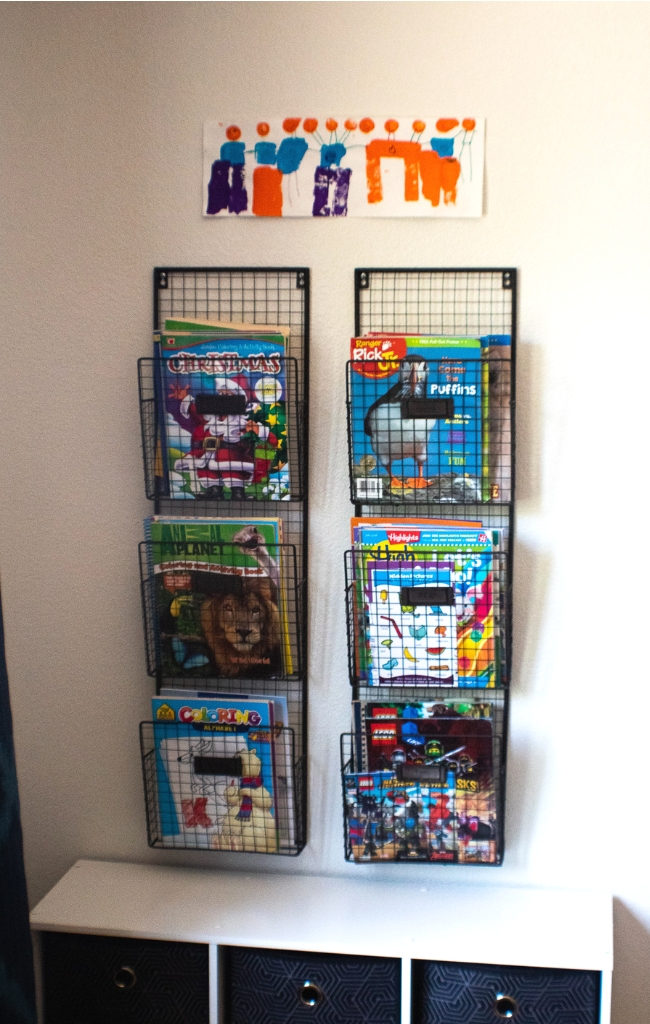
To finish off our creative maker-space room, I hung two wire magazine holders from Joss & Main to contain our collections of coloring books and magazines. These have worked out great and hold a good number of items! This inexpensive cube organizer and fabric bins (they come in tons of colors!) from Target has been awesome for other random items like play dough, indoor snowballs, and magnet tiles :).
Kid’s Craft Table IKEA Hack
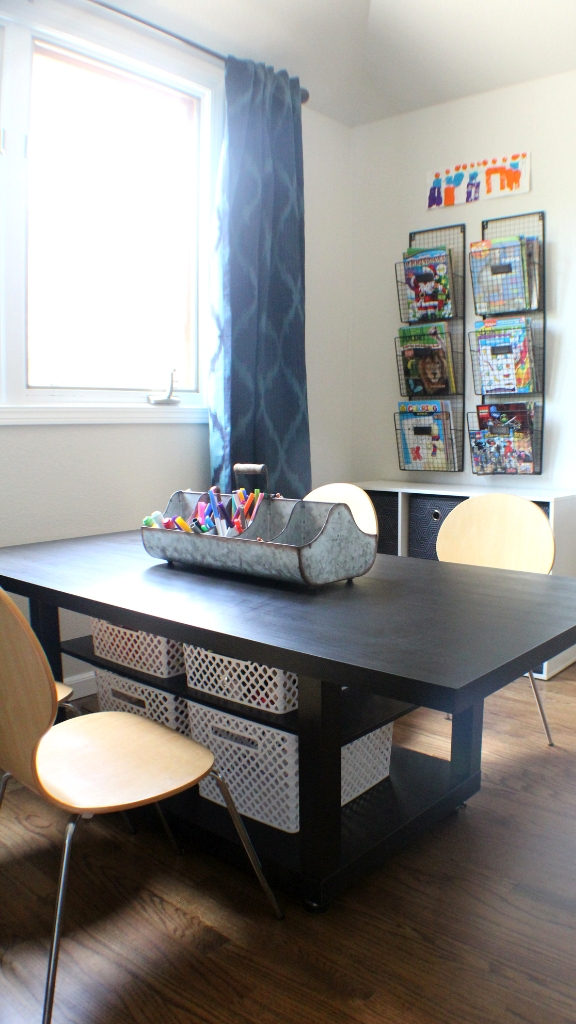
Lastly, I put together yet one more IKEA hack to create a kid-sized art table using a small LACK coffee table and a LINNMON table top for a total cost of about $70. This table offers great additional storage for extra toys and art supplies!
What’s funny is that with all of this great space to play and be creative, little buddy still often times grabs things out of this room and brings them into the kitchen to play just to be a little closer to us ;). Overall though, our little guy and his friends have loved this space and we’re so thankful for it!