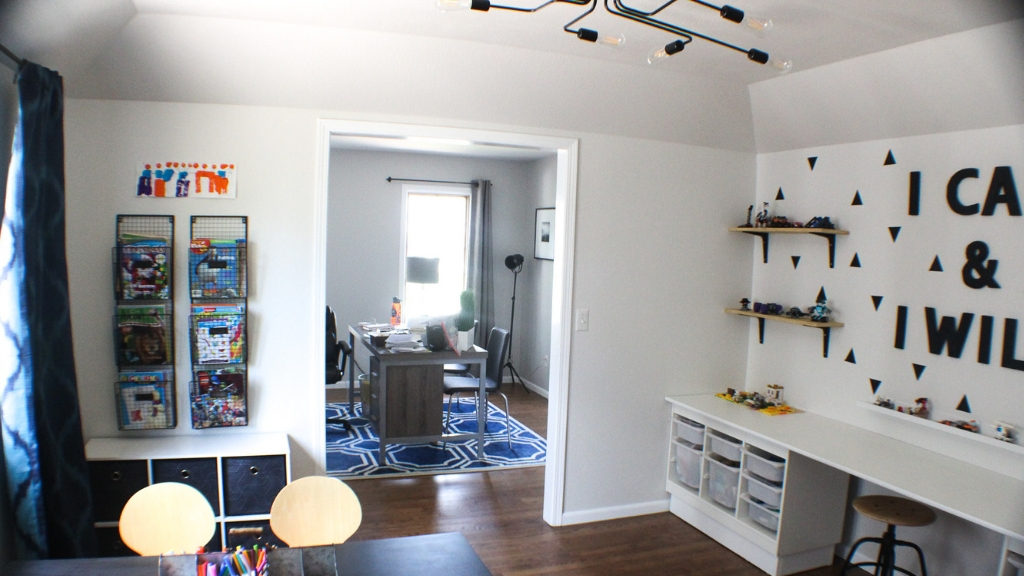
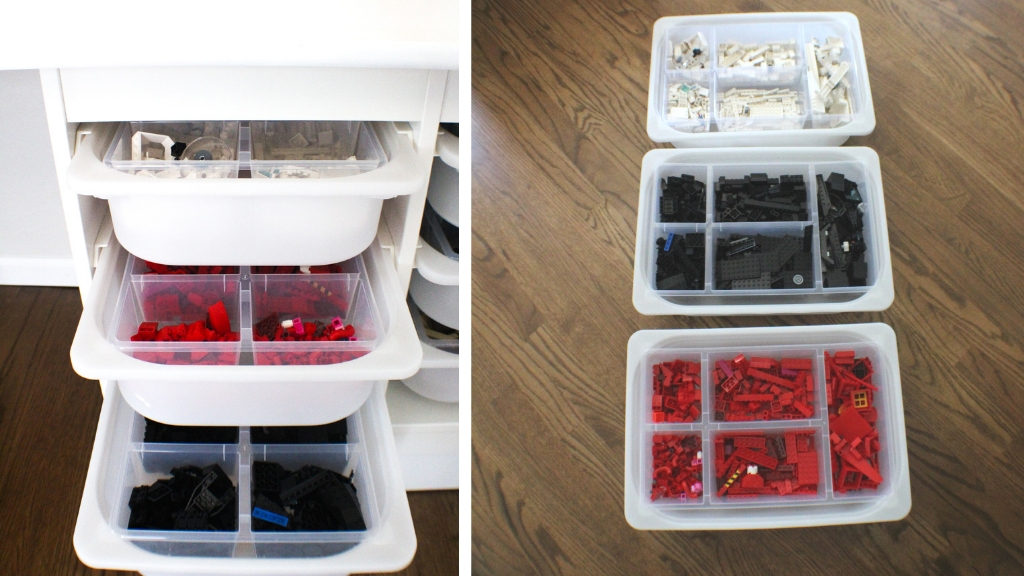
Ok, I am super excited about this project and how it turned out! As soon as we bought this house I knew that I wanted to create a ton of table space for Lego creations and experiments for our little guy. I had seen a few ideas on Pinterest to utilize the Trofast furniture and bins from IKEA and place a board across the top of them to create a Lego table. So, I took some ideas and maxed them out!
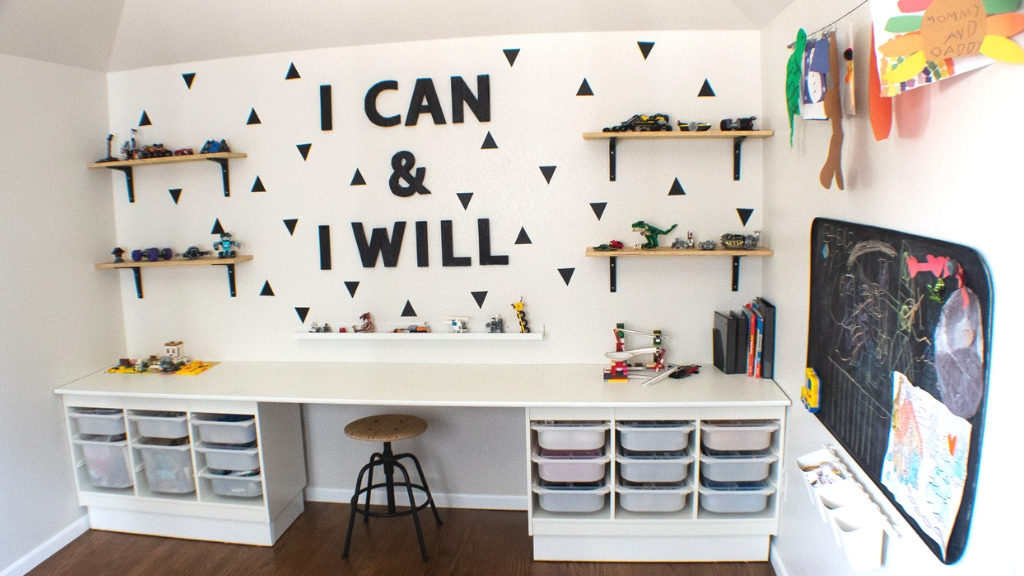

At 5-years-old, my “little” guy is already 4’3” (wowsers!) so I wanted to add some height to the Trofast furniture and allow this area to be more of a standing work zone. IKEA Trofast hack, here I come!
For some, sitting is considered the most underrated health-threat of all time, so anything I can do to encourage standing I will do!. I did still decide to provide a height-adjustable stool when you just gotta get off your feet (most of the time, mommy uses it). Definitely check out the information and products at www.standingdesknation.com to learn more and for a TON of options for standing desks – your health and back will thank you! It’s a great family owned business too so that’s awesome too…
The Lego table top
Anyhow, the most difficult part of this project for me was finding a solid piece of wood (or in my case, particle board) to span the width of the room (10.1’ long). None of the regular hardware stores had any pieces of wood long enough. I considered purchasing an actual countertop piece but the cost was too prohibitive (over $200 – ummm, no thanks).
Finally, I found the perfect solution at Sutherlands in a 12’ long, 24” wide piece of particle board with a bullnose front to reduce any sharp edges for those little arms working at the space. And, it was only $20! Woo hoo! I simply primed and painted it white to match the Trofast units. If you aren’t sure which white to go with you can take a piece of the IKEA furniture with you to Lowes or Home Depot and they will color match it for you (easier to do prior to assembling it!) The white color is nice too as it makes it easy to find little Lego pieces.
Here’s what you’ll need to add height to your IKEA Trofast units:
Build two boxes that are open on the top and bottom. I wanted to do boxes for two reasons:
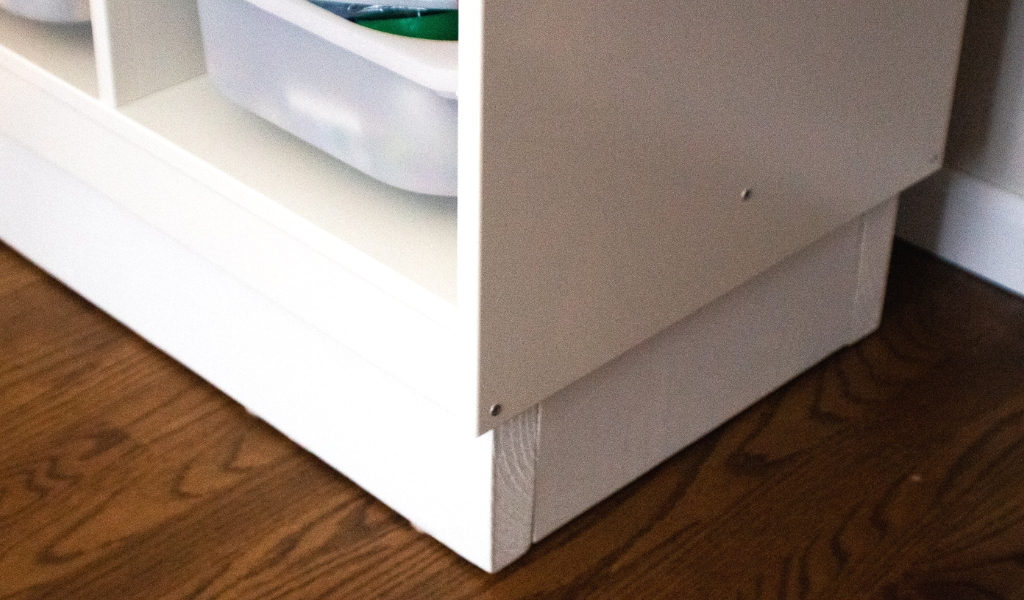
- So that the boxes would blend in with the Trofast furniture to look like one cohesive piece of furniture. Trofast units have about 2 ¼” of space on the underside of the units that work perfectly for a box to fit into and provide plenty of stability.
- I didn’t want any tiny Lego pieces constantly being lost under the Trofast units. The boxes provide a solid barrier to prevent this from happening.
For my desired overall height of the completed table (28”), I used lumber that was supposedly 2” thick by 8” wide which in actuality means it was 1 ½” thick and about 7.25” wide. I still don’t get it, but it is what it is. I purchased mine at Home Depot and had them cut the boards down to size for me.
Materials needed for IKEA Trofast Hack
- Of the above-mentioned size of wood, you need the following lengths:
- 4 pieces 12 1/8” long (these will be for the short sides)
- 4 pieces 37 ¼” long (these will be the fronts and backs)
- Drill
- Countersink drill bit
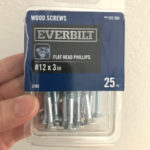
- Long wood screws – I used flat head Phillips #12 x 3 inches
- Palm/Hand Sander (if you don’t have one of these they are super helpful and you can find decent ones for around $30)!
- Paint & Primer
- Wood filler or Drydex and plastic or metal knife
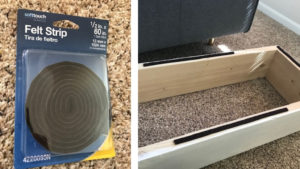
- Felt Strips (if placing Trofast units on hardwood floors).
Instructions for Lego Table:
Step 1 – Before assembling your boxes, sand each of the pieces of wood with a palm sander and wipe down to remove the dust.
Step 2 – With a handy helper or some great clamps, tightly hold one of the side pieces to one of the front/back pieces. The side pieces will go on the inside of the front/back piece so that you won’t see any seams from the front of the box. Use a countersink drill bit to drill the pilot holes for your very long screws. I used just two screws per piece which were plenty sturdy when all was said and done.
Step 3 – Repeat this process to attach the other side piece to your front/back piece and then finally attach the other front/back piece. I didn’t use any kind of wood glue and these have been fine.
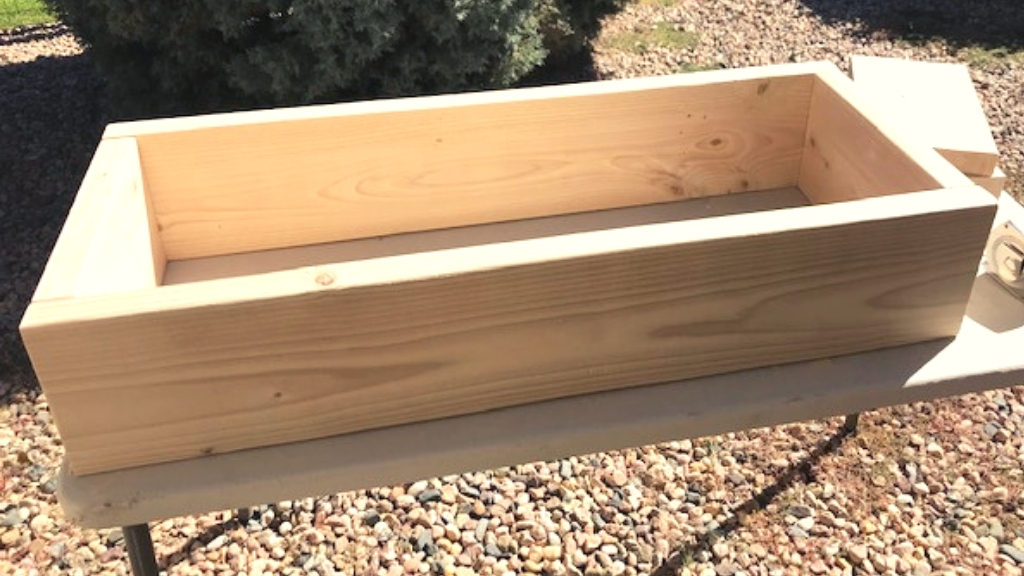
Step 4 – Repeat all of these processes to complete your second box.
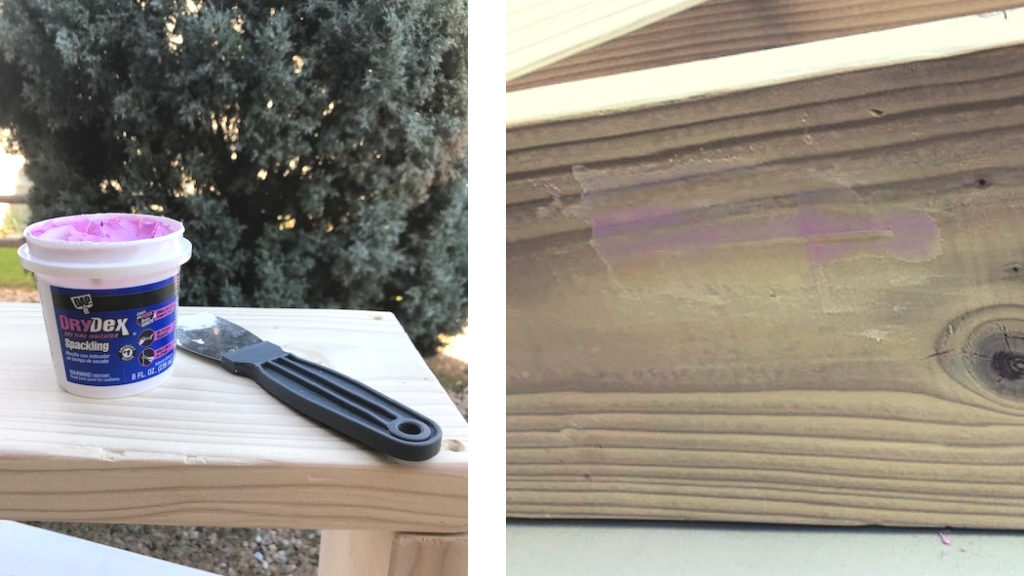
Step 5 – Once your boxes are assembled, use wood filler or Drydex to fill in the holes. I only had DryDex usually used for drywall and it still worked fine for me. Once dry, lightly sand these areas again, wipe down and then prime and paint to match the color of your IKEA Trofast units. Allow the paint to dry.
Step 6 – If you have hardwood floors, you may want to add some felt strips to the bottom of your boxes.
Step 7 – Now your boxes are complete! Great job! Place them where you want your Trofast units to reside and simply lift your Trofast furniture and set them on top of the boxes. Because of that nice 2 ¼” gap on the bottom of the units, the sides of the Trofast will fit snugly over your boxes.
Step 8 – Lastly, place your primed and painted wood/counter/pressboard on top of the units to create your Lego table top. Since mine spanned the whole width of the room and has plenty of support from the Trofast units themselves, I didn’t need to secure the table top in any other way. However, you may need to consider using wall brackets for your tabletop, screwing it into the Trofast unit(s) itself, or use some other means of ensuring the table top is secure and can’t come loose to hurt your little ones.
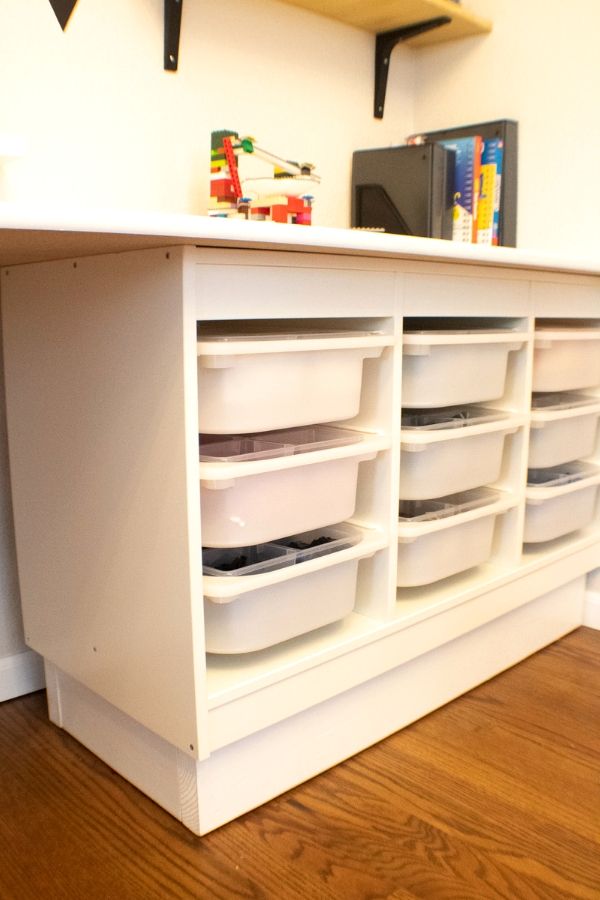
Voila! All done! You now have a height-adjusted, secure Lego table with a ton of storage. Good job :). And, if you ever need to adjust the height again, you can simply build new boxes since it was so easy!
For more information on how we organized the Lego storage bins, check out this post. 🙂
Also be sure to check out the whole lego and kid’s craft room post as well!
